
如何使用更新函数在 Matplotlib 中为 NetworkX 图制作动画?
pythonserver side programmingprogramming更新于 2025/8/7 12:28:17
要使用 update 函数在 Matplotlib 中为 NetworkX 图制作动画,我们可以采取以下步骤 −
- 设置图形大小并调整子图之间和周围的填充。
- 使用 figure() 方法创建新图形或激活现有图形。
- 使用 edges、name 和 graph 属性初始化图形。
- 使用 add_nodes_from() 方法向图形添加节点。
- 使用 Matplotlib 绘制图形 G。
- 使用 FuncAnimation() 类通过重复调用函数来制作动画, 动画。
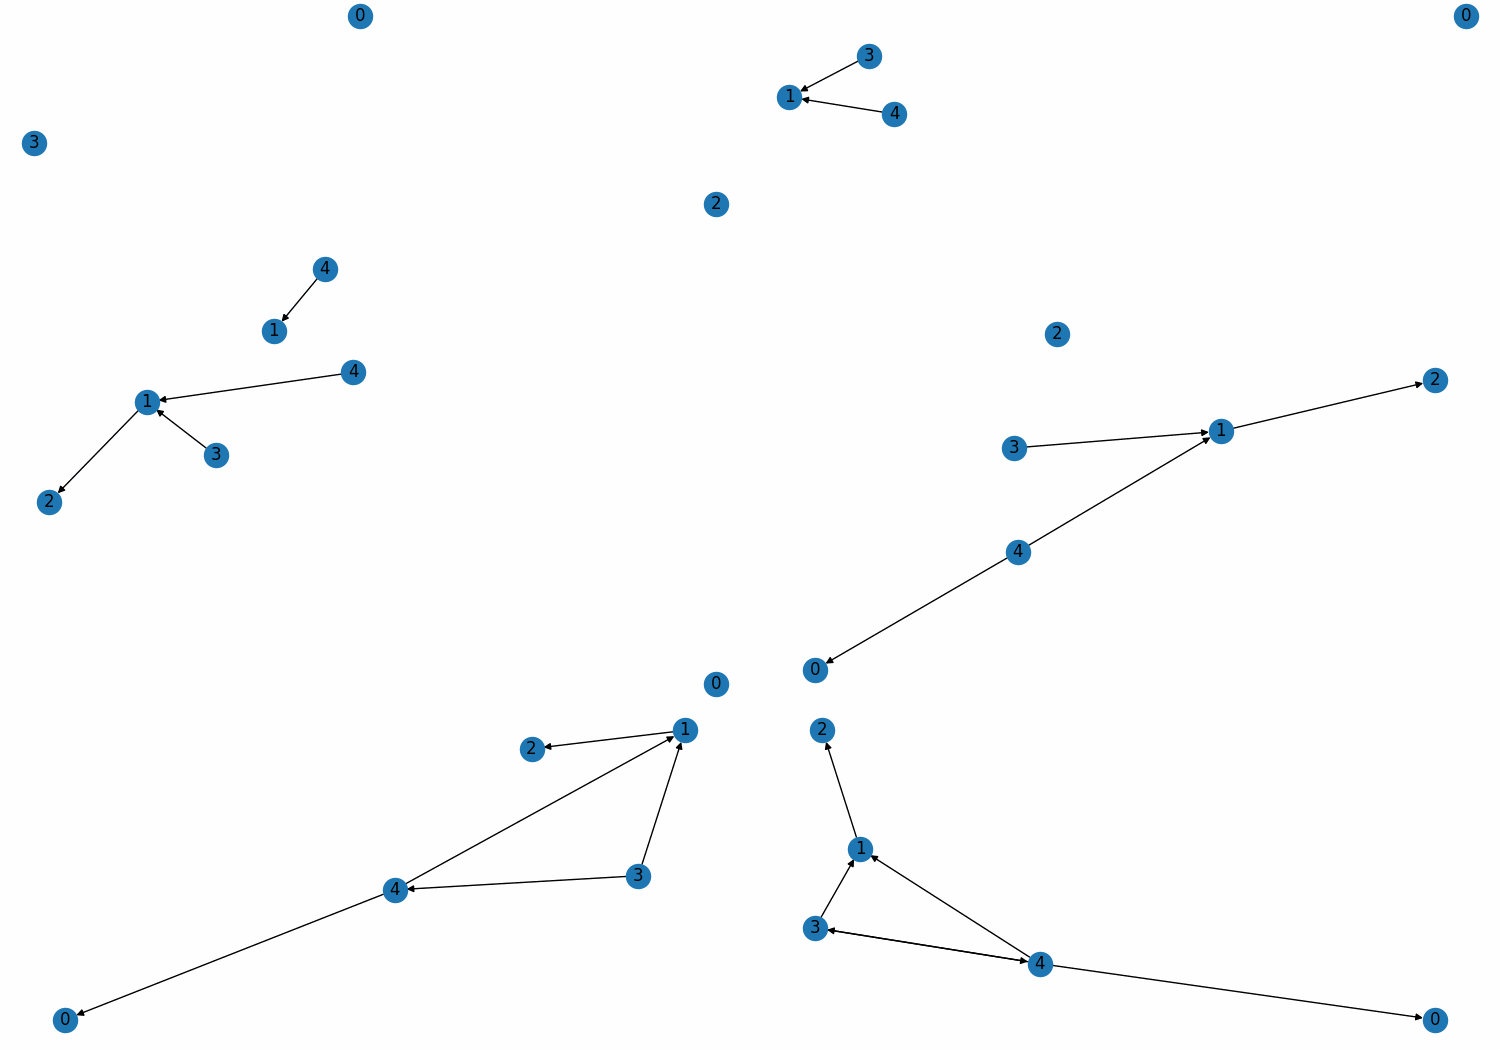
- 函数 动画 清除当前图形,生成两个随机数,并绘制它们之间的边缘。
- 要显示图形,请使用 show() 方法。
示例
from matplotlib import pyplot as plt, animation
import networkx as nx
import random

plt.rcParams["figure.figsize"] = [7.50, 3.50]
plt.rcParams["figure.autolayout"] = True

fig = plt.figure()

G = nx.DiGraph()
G.add_nodes_from([0, 1, 2, 3, 4])

nx.draw(G, with_labels=True)

def animate(frame):
   fig.clear()
   num1 = random.randint(0, 4)
   num2 = random.randint(0, 4)
   G.add_edges_from([(num1, num2)])
   nx.draw(G, with_labels=True)

ani = animation.FuncAnimation(fig, animate, frames=6, interval=1000, repeat=True)

plt.show()
输出
相关文章
有用资源
python 参考教程 - 该教程包含有关 python 的更多信息:https://www.cainiaomax.com/python/