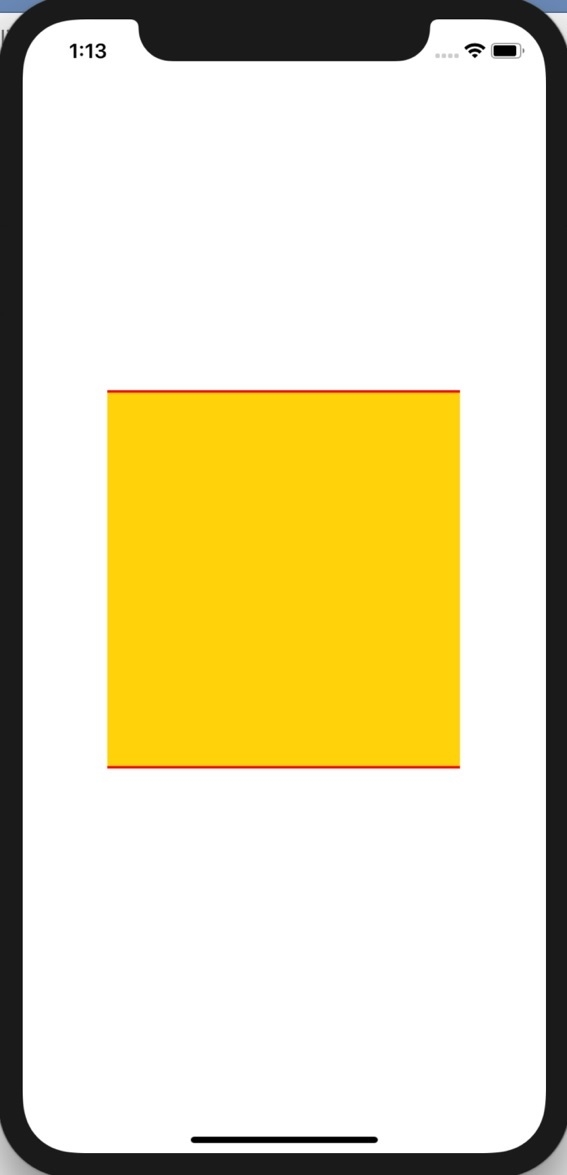
如何在 iOS 视图的顶部和底部添加边框?
iosapps/applicationsmobile development更新于 2026/2/12 2:07:17
在本文中,我们将学习如何为视图添加顶部和底部边框。
在本例中,我们将以示例视图为例,为其添加边框。
步骤 1 − 打开 Xcode → 新建项目 → 单视图应用程序 → 我们将其命名为"AddBorderTopAndBottom"
步骤 2 − 打开 Main.storyboard,并向其中添加一个 UIView,如下所示。
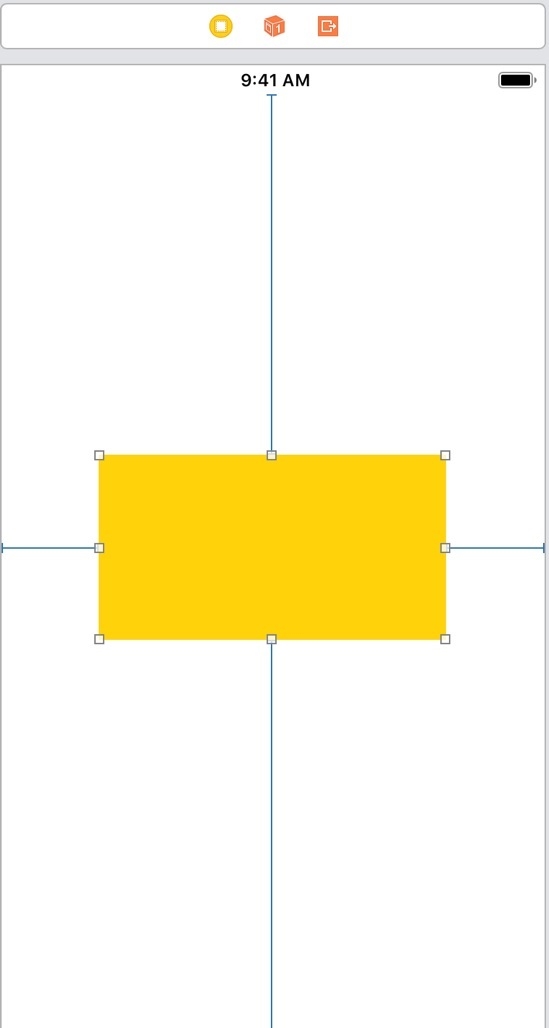
步骤 3 − 为视图添加一个 @IBOutlet,并将其命名为 centerView。
步骤 4 − 我们将编写单独的方法来为该视图添加边框。为了给该视图添加边框,我们将创建两个具有所需厚度的图层。我们将这两个图层的框架分别设置为视图的顶部和底部。我们将设置这些图层边框所需的背景颜色,并将这些图层作为子图层添加到视图中。
因此,创建一个函数 addTopAndBottomBorders 并添加以下代码行
func addTopAndBottomBorders() {
   let thickness: CGFloat = 2.0
   let topBorder = CALayer()
   let bottomBorder = CALayer()
   topBorder.frame = CGRect(x: 0.0, y: 0.0, width: self.centerView.frame.size.width, height: thickness)
   topBorder.backgroundColor = UIColor.red.cgColor
   bottomBorder.frame = CGRect(x:0, y: self.centerView.frame.size.height - thickness, width: self.centerView.frame.size.width, height:thickness)
   bottomBorder.backgroundColor = UIColor.red.cgColor
   centerView.layer.addSublayer(topBorder)
   centerView.layer.addSublayer(bottomBorder)
}
如您所见,我们已为图层设置了适当的厚度、边框和颜色,并将它们添加为子图层。
步骤 5 − 在 ViewController 类的 viewDidAppear 中调用 addTopAndBottomBorders 方法。
override func viewDidAppear(_ animated: Bool) {
   addTopAndBottomBorders()
}
步骤 6 − 运行项目,您应该能够看到中心视图的顶部和底部边框。