
如何在 Android 中创建动画渐变背景。
在开始示例之前,我们应该了解什么是渐变色。根据维基百科,在计算机图形学中,颜色渐变(有时称为颜色坡道或颜色渐进)指定了一系列与位置相关的颜色,通常用于填充区域。例如,许多窗口管理器允许将屏幕背景指定为渐变。
此示例演示了如何在 Android 中创建动画渐变背景。
步骤 1 − 在 Android Studio 中创建一个新项目,转到"文件"->"新建项目",并填写所有必需的详细信息以创建新项目。
步骤 2 − 将以下代码添加到 res/layout/activity_main.xml。
<?xml version = "1.0" encoding = "utf-8"?>
<android.support.constraint.ConstraintLayout xmlns:android = "http://schemas.android.com/apk/res/android"
   xmlns:app = "http://schemas.android.com/apk/res-auto"
   xmlns:tools = "http://schemas.android.com/tools"
   android:id = "@+id/constraintLayout"
   android:layout_width = "match_parent"
   android:layout_height = "match_parent"
   android:background = "@drawable/gradient_animation "
   tools:context = ".MainActivity">
   <!-- Your layout here -->
   <TextView
      android:layout_width = "368dp"
      android:layout_height = "520dp"
      android:layout_marginBottom = "8dp"
      android:layout_marginLeft = "8dp"
      android:layout_marginRight = "8dp"
      android:layout_marginTop = "8dp"
      android:gravity = "center"
      android:text = "@string/app_name"
      android:textAlignment = "center"
      android:textColor = "@android:color/background_light"
      android:textSize = "30sp"
      android:textStyle = "bold"
      app:layout_constraintBottom_toBottomOf = "parent"
      app:layout_constraintLeft_toLeftOf = "parent"
      app:layout_constraintRight_toRightOf = "parent"
      app:layout_constraintTop_toTopOf = "parent"
      tools:text = "@string/app_name"/>
</android.support.constraint.ConstraintLayout>
在上面的代码中,我们在 drawable 中添加了背景作为 gradient_animation。现在在 drawable 文件夹中创建 gradient_animation.xml 并添加以下代码 -
<?xml version = "1.0" encoding = "utf-8"?>
<animation-list xmlns:android = "http://schemas.android.com/apk/res/android">
   <item
      android:drawable = "@drawable/drawable_purple_gradient"
      android:duration = "3000" />
   <item
      android:drawable = "@drawable/drawable_amber_gradient"
      android:duration = "3000" />
   <item
      android:drawable = "@drawable/drawable_green_gradient"
      android:duration = "3000" />
   <item
      android:drawable = "@drawable/drawable_red_gradient"
      android:duration = "3000" />
</animation-list>
在上面的动画列表中,我们添加了 4 个子 Drawable,并为每个动画视图添加了持续时间。超时后,背景会发生变化。在 drawable_purple_gradient 中,包含紫色背景,因此在 drawable 文件夹中创建一个名为 drawable_purple_gradient.xml 的文件,并添加以下代码 -
<?xml version = "1.0" encoding = "utf-8"?>
<shape xmlns:android = "http://schemas.android.com/apk/res/android">
   <gradient
      android:angle = "90"
      android:endColor = "#D500F9"
      android:startColor = "#4A148C" />
</shape>
按照上述步骤,在 Drawable 文件夹中创建 drawable_amber_gradient.xml、drawable_green_gradient.xml 和 drawable_red_gradient.xml,并添加以下代码,如下所示 -
drawable_amber_gradient.xml-
<?xml version = "1.0" encoding = "utf-8"?>
<shape xmlns:android = "http://schemas.android.com/apk/res/android">
   <gradient
      android:angle = "135"
      android:endColor = "#FFC400"
      android:startColor = "#FF6F00" />
</shape>
drawable_green_gradient.xml -
<?xml version = "1.0" encoding = "utf-8"?>
<shape xmlns:android = "http://schemas.android.com/apk/res/android">
   <gradient
      android:angle = "0"
      android:endColor = "#00E676"
      android:startColor = "#1B5E20"/>
</shape>
drawable_red_gradient.xml -
<?xml version = "1.0" encoding = "utf-8"?>
<shape xmlns:android = "http://schemas.android.com/apk/res/android">
   <gradient
      android:angle = "45"
      android:endColor = "#FF1744"
      android:startColor = "#B71C1C" />
</shape>
步骤 3 − 将以下代码添加到 src/MainActivity.java-
package com.example.andy.myapplication;

import android.graphics.drawable.AnimationDrawable;
import android.support.constraint.ConstraintLayout;
import android.support.v7.app.AppCompatActivity;
import android.os.Bundle;

public class MainActivity extends AppCompatActivity {
   private ConstraintLayout constraintLayout;
   private AnimationDrawable animationDrawable;
   @Override
   protected void onCreate(Bundle savedInstanceState) {
      super.onCreate(savedInstanceState);
      setContentView(R.layout.activity_main);
      constraintLayout = (ConstraintLayout) findViewById(R.id.constraintLayout);
      animationDrawable = (AnimationDrawable) constraintLayout.getBackground();
      animationDrawable.setEnterFadeDuration(3000);
      animationDrawable.setExitFadeDuration(2000);
   }
   @Override
   protected void onResume() {
      super.onResume();
      if (animationDrawable ! = null && !animationDrawable.isRunning()) {
         animationDrawable.start();
      }
   }
   @Override
   protected void onPause() {
      super.onPause();
      if (animationDrawable ! = null && animationDrawable.isRunning()) {
         animationDrawable.stop();
      }
   }
}
让我们尝试运行您的应用程序。假设您已将实际的 Android 移动设备连接到电脑。要从 Android Studio 运行该应用程序,请打开项目的某个活动文件,然后点击工具栏上的"运行" 图标。选择您的移动设备作为选项,然后勾选将显示默认屏幕 − 的移动设备。
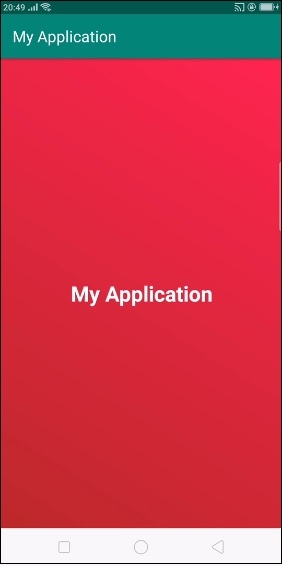
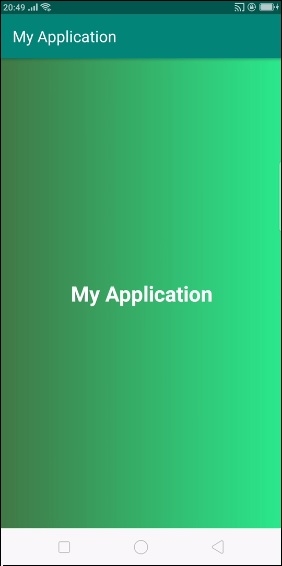
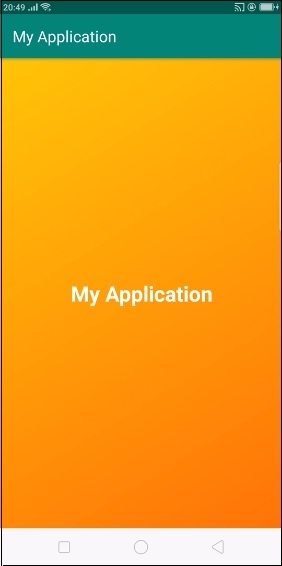
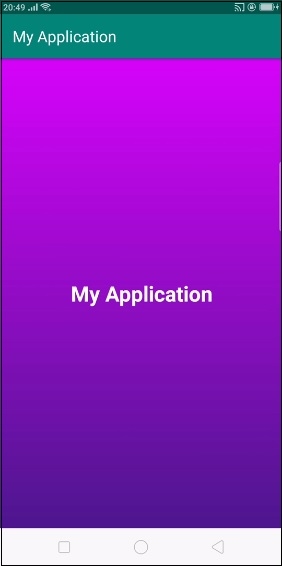
如上图所示,背景颜色每3秒变化一次。
点击此处下载项目代码

