Angular 2 - 依赖注入
依赖注入是在运行时添加组件功能的能力。 让我们看一个示例以及用于实现依赖注入的步骤。
步骤 1 − 创建一个具有可注入装饰器的单独类。 可注入装饰器允许在任何 Angular JS 模块中注入和使用此类的功能。
@Injectable()
   export class classname {
}
步骤 2 − 接下来,在您的 appComponent 模块或要在其中使用该服务的模块中,您需要将其定义为 @Component 装饰器中的提供者。
@Component ({
   providers : [classname]
})
让我们看一个如何实现这一目标的示例。
步骤 1 − 为名为 app.service.ts 的服务创建一个 ts 文件。
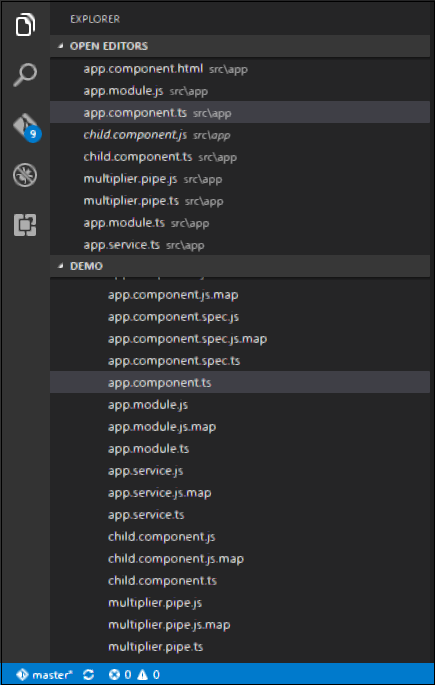
步骤 2 − 将以下代码放入上面创建的文件中。
import {
   Injectable
} from '@angular/core';

@Injectable()
export class appService {
   getApp(): string {
      return "Hello world";
   }
}
上述程序需要注意以下几点。
Injectable 装饰器是从 angular/core 模块导入的。
我们正在创建一个名为 appService 的类,该类用 Injectable 装饰器进行装饰。
我们正在创建一个名为 getApp 的简单函数,它返回一个名为"Hello world"的简单字符串。
步骤 3 − 在 app.component.ts 文件中放置以下代码。
import {
   Component
} from '@angular/core';

import {
   appService
} from './app.service';

@Component({
   selector: 'my-app',
   template: '<div>{{value}}</div>',
   providers: [appService]
})

export class AppComponent {
   value: string = "";
   constructor(private _appService: appService) { }
   ngOnInit(): void {
      this.value = this._appService.getApp();
   }
}
上述程序需要注意以下几点。
首先,我们将 appService 模块导入到 appComponent 模块中。
然后,我们在此模块中将该服务注册为提供者。
在构造函数中,我们定义了一个名为 _appService 的变量,其类型为 appService,以便可以在 appComponent 模块中的任何位置调用它。
举个例子,在 ngOnInit 生命周期钩子中,我们调用了服务的 getApp 函数,并将输出分配给 AppComponent 类的 value 属性。
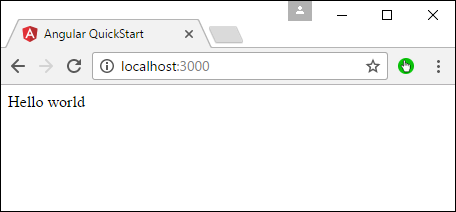
保存所有代码更改并刷新浏览器,您将得到以下输出。