Angular 2 - 路由
路由有助于根据用户在主页上选择的选项将他们引导至不同的页面。 因此,根据他们选择的选项,所需的 Angular 组件将呈现给用户。
让我们看看如何在 Angular 2 应用程序中实现路由的必要步骤。
步骤 1 − 在index.html 文件中添加基本引用标记。
<!DOCTYPE html>
<html>
   <head>
      <base href = "/">
      <title>Angular QuickStart</title>
      <meta charset = "UTF-8">
      <meta name = "viewport" content = "width = device-width, initial-scale = 1">

      <base href = "/">
      <link rel = "stylesheet" href = "styles.css">

      <!-- Polyfill(s) for older browsers -->
      <script src = "node_modules/core-js/client/shim.min.js"></script>
      <script src = "node_modules/zone.js/dist/zone.js"></script>
      <script src = "node_modules/systemjs/dist/system.src.js"></script>
      <script src = "systemjs.config.js"></script>

      <script>
         System.import('main.js').catch(function(err){ console.error(err); });
      </script>
   </head>

   <body>
      <my-app></my-app>
   </body>
</html>
步骤 2 − 为应用程序创建两条路由。 为此,创建 2 个名为 Inventory.component.ts 和 product.component.ts 的文件
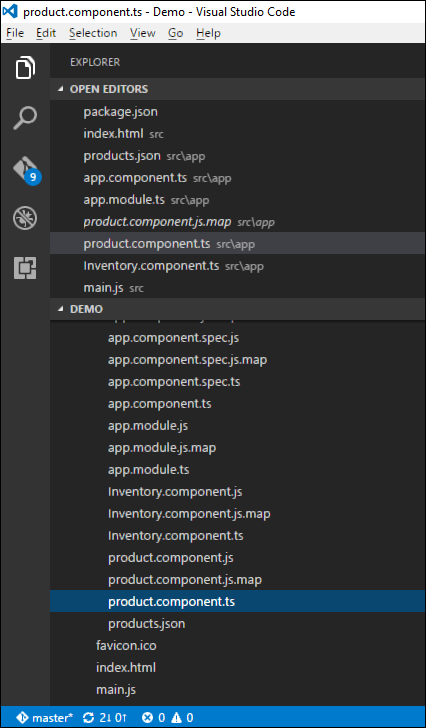
步骤 3 − 将以下代码放入product.component.ts 文件中。
import { Component } from '@angular/core';

@Component ({
   selector: 'my-app',
   template: 'Products',
})
export   class   Appproduct  {
}
步骤 4 − 将以下代码放入 Inventory.component.ts 文件中。
import { Component } from '@angular/core';

@Component ({
   selector: 'my-app',
   template: 'Inventory',
})
export class AppInventory  {
}
这两个组件都没有做任何花哨的事情,它们只是根据组件渲染关键字。 所以对于Inventory组件来说,它会向用户显示Inventory关键字。 对于产品组件,它将向用户显示产品关键字。
步骤 5 − 在 app.module.ts 文件中,添加以下代码 −
import { NgModule } from '@angular/core';
import { BrowserModule } from '@angular/platform-browser';
import { AppComponent }  from './app.component';
import { Appproduct } from './product.component';
import { AppInventory } from './Inventory.component';
import { RouterModule, Routes } from '@angular/router';

const appRoutes: Routes = [
   { path: 'Product', component: Appproduct },
   { path: 'Inventory', component: AppInventory },
];

@NgModule ({
   imports: [ BrowserModule,
   RouterModule.forRoot(appRoutes)],
   declarations: [ AppComponent,Appproduct,AppInventory],
   bootstrap: [ AppComponent ]
})
export class AppModule { }
上述程序需要注意以下几点 −
appRoutes 包含 2 个路由,一个是 Appproduct 组件,另一个是 AppInventory 组件。
确保声明这两个组件。
RouterModule.forRoot 确保将路由添加到应用程序。
步骤 6 − 在 app.component.ts 文件中,添加以下代码。
import { Component } from '@angular/core';

@Component ({
   selector: 'my-app',
   template: `
   <ul>
      <li><a [routerLink] = "['/Product']">Product</a></li>
      <li><a [routerLink] = "['/Inventory']">Inventory</a></li>
   </ul>
   <router-outlet></router-outlet>`
})
export class AppComponent  { }
上述程序需要注意以下几点 −
<router-outlet></router-outlet> is the placeholder to render the component based on which option the user chooses.
现在,保存所有代码并使用 npm 运行应用程序。 转到浏览器,您将看到以下输出。
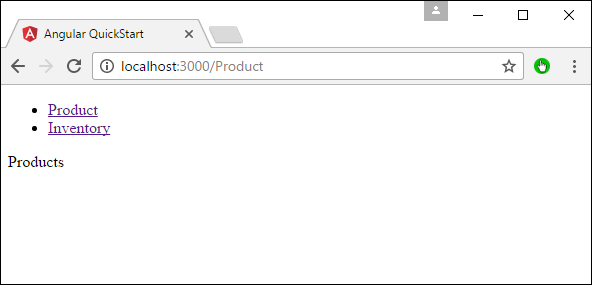
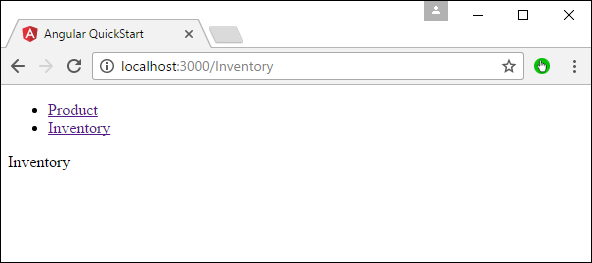
现在,如果您单击"库存"链接,您将获得以下输出。
添加错误路由
在路由中,还可以添加错误路由。 如果用户转到应用程序中不存在的页面,则可能会发生这种情况。
让我们看看如何实现这一点。
步骤 1 − 添加一个 PageNotFound 组件为 NotFound.component.ts ,如下所示 −
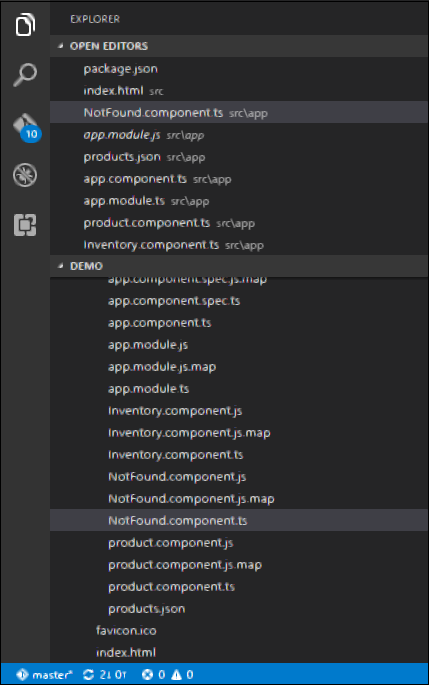
步骤 2 − 将以下代码添加到新文件中。
import { Component } from '@angular/core';

@Component ({
   selector: 'my-app',
   template: 'Not Found',
})
export class PageNotFoundComponent {
}
步骤 3 − 将以下代码添加到 app.module.ts 文件中。
import { NgModule } from '@angular/core';
import { BrowserModule } from '@angular/platform-browser';
import { AppComponent } from './app.component';
import { Appproduct } from './product.component'
import { AppInventory } from  './Inventory.component'
import { PageNotFoundComponent } from  './NotFound.component'
import { RouterModule, Routes } from '@angular/router';

const appRoutes: Routes = [
   { path: 'Product', component: Appproduct },
   { path: 'Inventory', component: AppInventory },
   { path: '**', component: PageNotFoundComponent }
];

@NgModule ({
   imports: [ BrowserModule,
   RouterModule.forRoot(appRoutes)],
   declarations: [ AppComponent,Appproduct,AppInventory,PageNotFoundComponent],
   bootstrap: [ AppComponent ]
})

export class AppModule {
}
上述程序需要注意以下几点 −
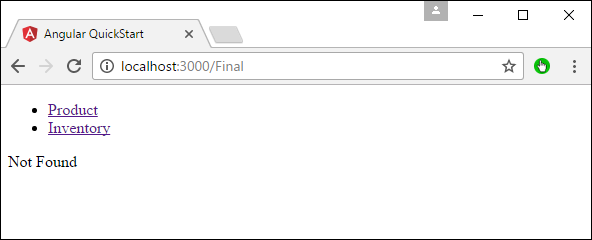
现在我们有一条额外的路由,名为 path: '**', component: PageNotFoundComponent。 因此,** 适用于任何不适合默认路由的路由。 它们将被定向到 PageNotFoundComponent 组件。
现在,保存所有代码并使用 npm 运行应用程序。 转到浏览器,您将看到以下输出。 现在,当您访问任何错误的链接时,您将得到以下输出。