Meteor - 模板
Meteor 模板使用三个顶级标签。前两个是 head 和 body。这些标签执行的功能与常规 HTML 相同。第三个标签是 template。这是我们将 HTML 连接到 JavaScript 的地方。
简单模板
以下示例显示了其工作原理。我们正在创建一个具有 name = "myParagraph" 属性的模板。我们的 template 标签是在 body 元素下方创建的,但是,我们需要在屏幕上呈现之前将其包含在内。我们可以通过使用 {{> myParagraph}> 语法来实现。在我们的模板中,我们使用双花括号 ({{text}})。这是名为 Spacebars 的流星模板语言。
在我们的 JavaScript 文件中,我们设置了 Template.myParagraph.helpers({}) 方法,该方法将作为我们与模板的连接。我们在此示例中仅使用 text 助手。
meteorApp.html
<head>
   <title>meteorApp</title>
</head>

<body>
   <h1>Header</h1>
   {{> myParagraph}}
</body>

<template name = "myParagraph">
   <p>{{text}}</p>
</template>
meteorApp.js
if (Meteor.isClient) {

   // 此代码仅在客户端运行
   Template.myParagraph.helpers({
      text: 'This is paragraph...'
   });
}
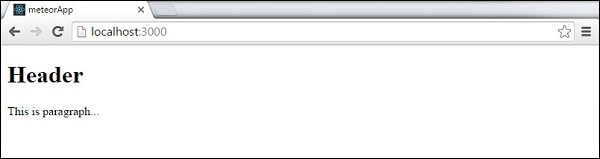
保存更改后,以下将是输出 −
块模板
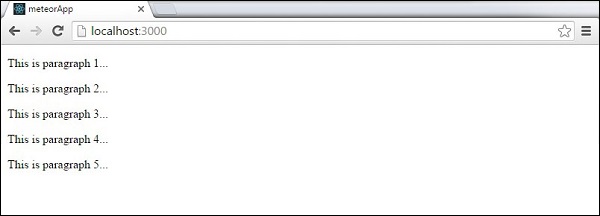
在下面的示例中,我们使用 {{#each passages}> 来迭代 paragraphs 数组并为每个值返回模板 name = "paragraph"。
meteorApp.html
<head>
   <title>meteorApp</title>
</head>

<body>
   <div>
      {{#each paragraphs}}
         {{> paragraph}}
      {{/each}}
   </div>
</body>

<template name = "paragraph">
   <p>{{text}}</p>
</template>
我们需要创建 paragraphs 辅助程序。这将是一个包含五个文本值的数组。
meteorApp.js
if (Meteor.isClient) {

   // 此代码仅在客户端运行
   Template.body.helpers({
      paragraphs: [
         { text: "This is paragraph 1..." },
         { text: "This is paragraph 2..." },
         { text: "This is paragraph 3..." },
         { text: "This is paragraph 4..." },
         { text: "This is paragraph 5..." }
      ]
   });
}
现在,我们可以在屏幕上看到五个段落。