React Native - 路由器
在本章中,我们将了解 React Native 中的导航。
步骤 1:安装路由器
首先,我们需要安装 路由器。我们将在本章中使用 React Native 路由器 Flux。您可以在终端中从项目文件夹运行以下命令。
npm i react-native-router-flux --save
步骤 2:整个应用程序
由于我们希望路由器处理整个应用程序,我们将在 index.ios.js 中添加它。对于 Android,您可以在 index.android.js 中执行相同操作。
App.js
import React, { Component } from 'react';
import { AppRegistry, View } from 'react-native';
import Routes from './Routes.js'

class reactTutorialApp extends Component {
   render() {
      return (
         <Routes />
      )
   }
}
export default reactTutorialApp
AppRegistry.registerComponent('reactTutorialApp', () => reactTutorialApp)
步骤 3:添加路由器
现在我们将在组件文件夹中创建 Routes 组件。它将返回带有多个场景的 Router。每个场景都需要 key、component 和 title。路由器使用 key 属性在场景之间切换,组件将在屏幕上呈现,标题将显示在导航栏中。我们还可以将 initial 属性设置为最初要呈现的场景。
Routes.js
import React from 'react'
import { Router, Scene } from 'react-native-router-flux'
import Home from './Home.js'
import About from './About.js'

const Routes = () => (
   <Router>
      <Scene key = "root">
         <Scene key = "home" component = {Home} title = "Home" initial = {true} />
         <Scene key = "about" component = {About} title = "About" />
      </Scene>
   </Router>
)
export default Routes
第 4 步:创建组件
我们已经有了前几章中的 Home 组件;现在,我们需要添加 About 组件。我们将添加 goToAbout 和 goToHome 函数以在场景之间切换。
Home.js
import React from 'react'
import { TouchableOpacity, Text } from 'react-native';
import { Actions } from 'react-native-router-flux';

const Home = () => {
   const goToAbout = () => {
      Actions.about()
   }
   return (
      <TouchableOpacity style = {{ margin: 128 }} onPress = {goToAbout}>
         <Text>This is HOME!</Text>
      </TouchableOpacity>
   )
}
export default Home
About.js
import React from 'react'
import { TouchableOpacity, Text } from 'react-native'
import { Actions } from 'react-native-router-flux'

const About = () => {
   const goToHome = () => {
      Actions.home()
   }
   return (
      <TouchableOpacity style = {{ margin: 128 }} onPress = {goToHome}>
         <Text>This is ABOUT</Text>
      </TouchableOpacity>
   )
}
export default About
应用将呈现初始主页屏幕。
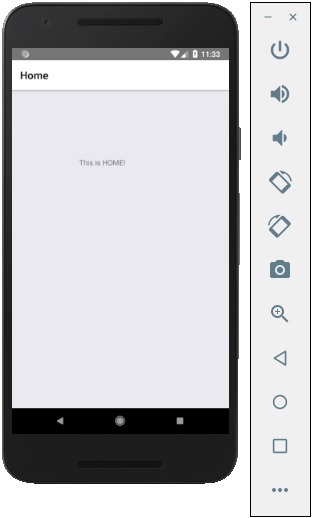
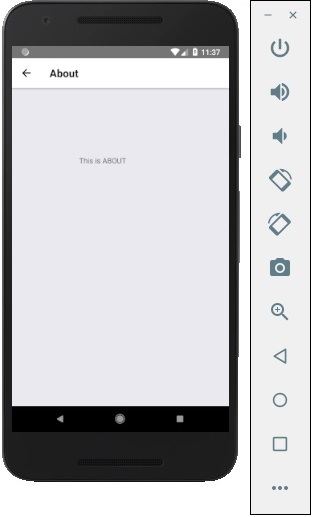
您可以按下按钮切换到关于屏幕。将出现后退箭头;您可以使用它返回上一个屏幕。