React Native - Switch
在本章中,我们将分几个步骤解释 Switch 组件。
步骤 1:创建文件
我们将使用 HomeContainer 组件进行逻辑处理,但我们需要创建展示组件。
现在让我们创建一个新文件:SwitchExample.js。
步骤 2:逻辑
我们将从 state 传递值,并将切换开关项的函数传递给 SwitchExample 组件。切换函数将用于更新状态。
App.js
import React, { Component } from 'react'
import { View } from 'react-native'
import SwitchExample from './switch_example.js'

export default class HomeContainer extends Component {
   constructor() {
      super();
      this.state = {
         switch1Value: false,
      }
   }
   toggleSwitch1 = (value) => {
      this.setState({switch1Value: value})
      console.log('Switch 1 is: ' + value)
   }
   render() {
      return (
         <View>
            <SwitchExample
            toggleSwitch1 = {this.toggleSwitch1}
            switch1Value = {this.state.switch1Value}/>
         </View>
      );
   }
}
步骤 3:演示
Switch 组件需要两个 prop。onValueChange prop 将在用户按下开关后触发我们的切换函数。value prop 绑定到 HomeContainer 组件的状态。
switch_example.js
import React, { Component } from 'react'
import { View, Switch, StyleSheet }

from 'react-native'

export default SwitchExample = (props) => {
   return (
      <View style = {styles.container}>
         <Switch
         onValueChange = {props.toggleSwitch1}
         value = {props.switch1Value}/>
      </View>
   )
}
const styles = StyleSheet.create ({
   container: {
      flex: 1,
      alignItems: 'center',
      marginTop: 100
   }
})
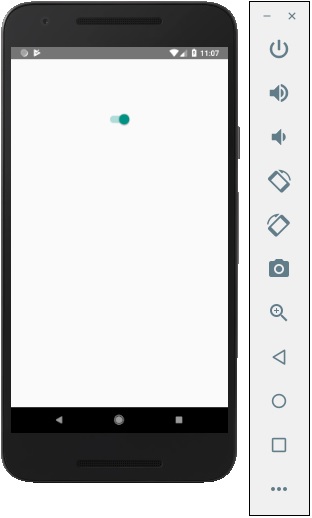
如果我们按下开关,状态将会更新。您可以在控制台中检查值。
输出