
SwiftUI - 创建显式动画
显式动画允许我们明确定义在给定视图上应如何、何时以及使用哪种类型的动画。它为开发人员提供手动控制,以便他们可以更好地控制动画。使用显式动画,我们可以轻松地将两个或多个动画混合在一起,以在简单和复杂的视图上创建新的效果。在 SwiftUI 中,我们可以使用 .withAnimation() 修饰符创建显式动画。
".withAnimation()"修饰符
".withAnimation()"修饰符用于在状态更改时为给定视图中存在的所有组件设置动画。或者我们可以说它将根据 withAnimation() 块中定义的状态更改代码自动为给定视图的转换设置动画。它允许我们根据需要手动控制动画。
语法
以下是语法 −
func withAnimation<Result>(
   _animation: Animation? = .default,
   _body: () throws -> Result
)rethrows -> Result
示例 1
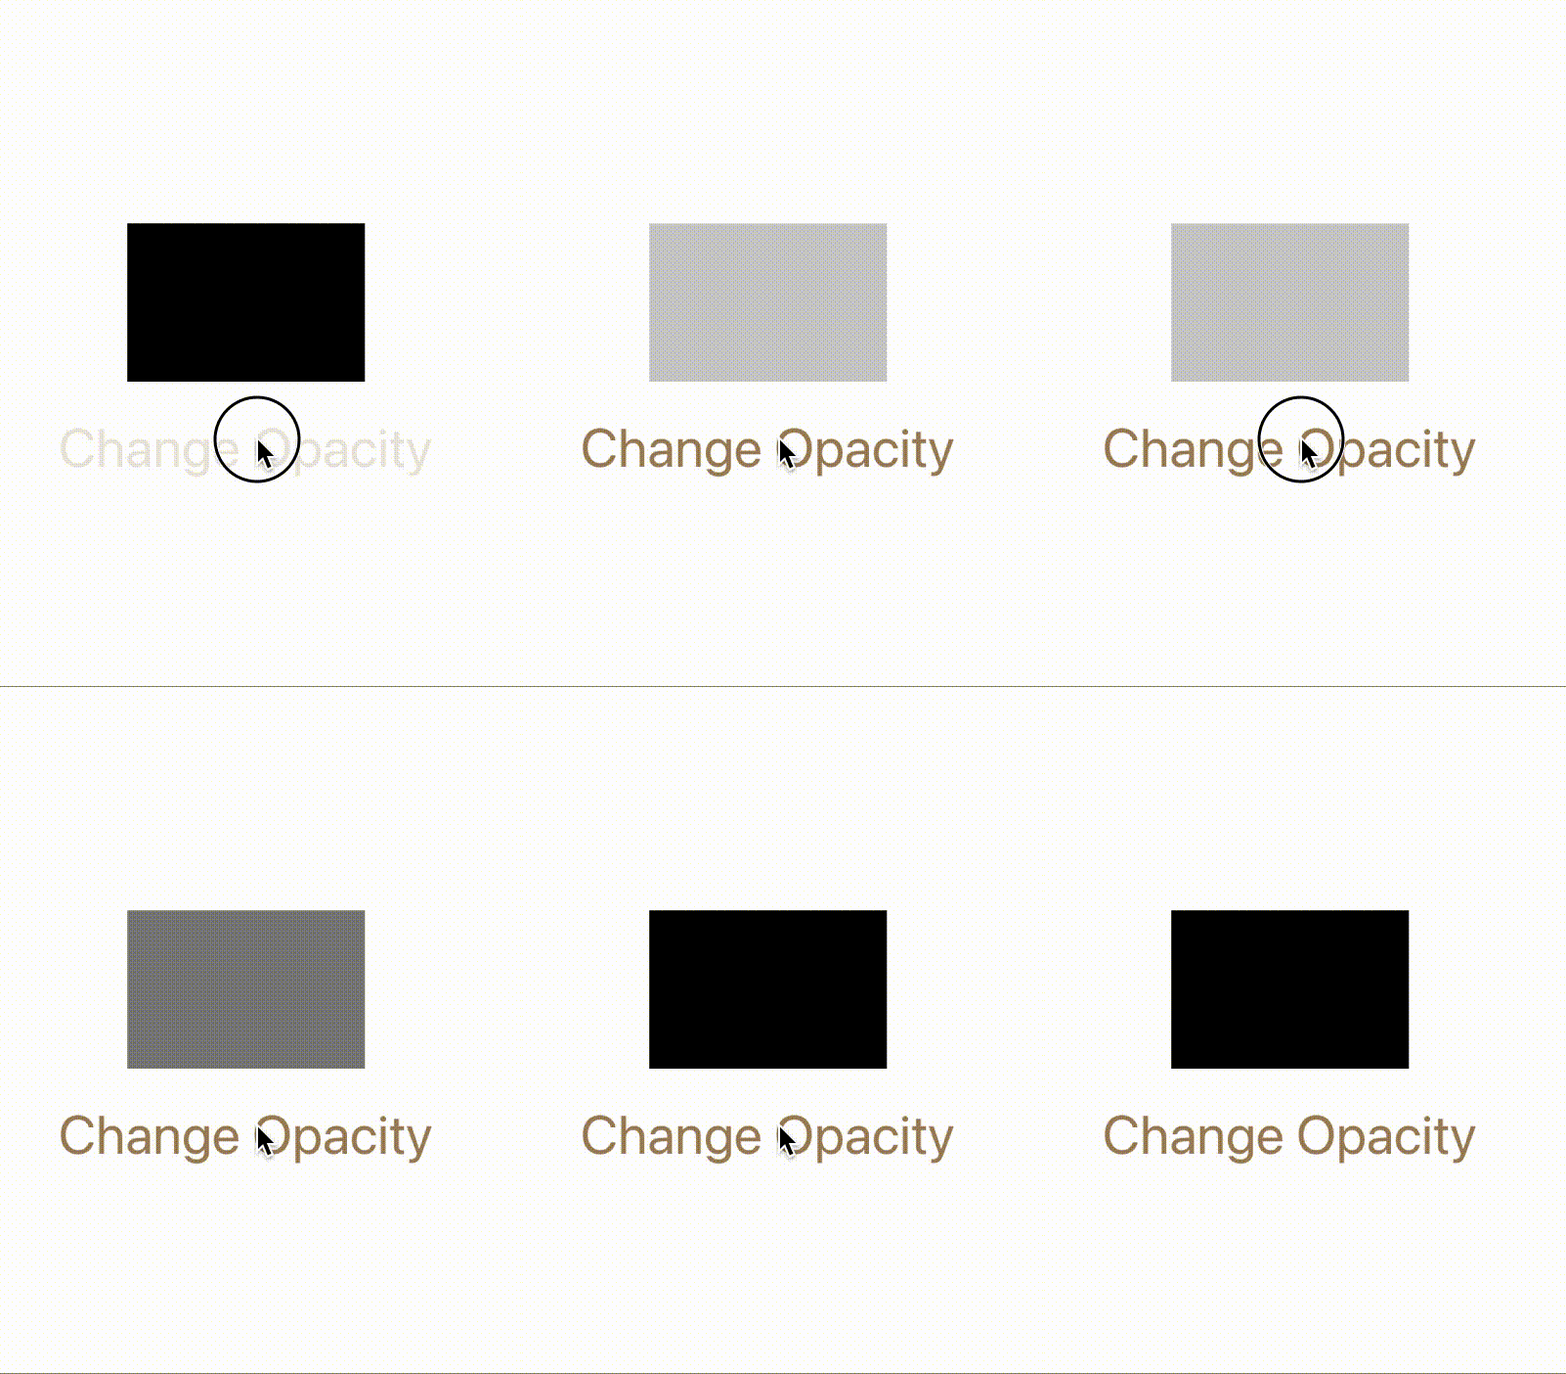
以下 SwiftUI 程序用于创建显式动画。在这里,我们通过单击按钮来更改矩形的不透明度。
import SwiftUI

struct ContentView: View {
   @State private var myOpacity = false
   var body: some View {
      Rectangle()
         .frame(width: 150, height: 100)
         .opacity(myOpacity ? 0.2 : 2)
      Button("Change Opacity"){
         withAnimation(.easeInOut(duration: 1.3)){
            myOpacity.toggle()
         }
      }.font(.largeTitle).foregroundStyle(.brown)
   }
}
#Preview {
   ContentView()
}
输出
示例 2
以下 SwiftUI 程序用于线性运行卡车。
import SwiftUI

struct ContentView: View {
   @State private var run = false
   var body: some View {
      Image(systemName: "box.truck")
         .font(.largeTitle)
         .foregroundColor(.green)
         .offset(x: run ? 1400 : -140, y: 0)
      Button("Run The Truck"){
         withAnimation(.linear(duration: 0.9)){
            run.toggle()
         }
      }.font(.title2).foregroundStyle(.brown)
   }
}
#Preview {
   ContentView()
}
输出
隐式动画与显式动画
正如我们在 SwiftUI 中所知,我们可以创建两种不同类型的动画:隐式动画和显式动画。这两种动画都会为视图添加动画,但它们仍然有一些差异,差异如下 −
| 隐式动画 | 显式动画 |
|---|---|
| 当舞台发生变化时,它会自动触发。 | 它在 withAnimation() 块内手动触发。 |
| 它借助 .animation() 修饰符直接应用于视图。 | 它适用于 withAnimation 块内的状态变化。 |
| 它提供对动画的最小控制。 | 它提供对动画的完全控制。 |
| 它适用于简单动画。 | 它最适合简单和复杂的动画。 |
| 它不太灵活,但易于使用。 | 它更灵活。 |

