Yii - 创建扩展
让我们创建一个简单的扩展,显示标准的"Hello world"消息。此扩展将通过 Packagist 存储库分发。
步骤 1 − 在您的硬盘驱动器中创建一个名为 hello-world 的文件夹(但不在 Yii 基本应用程序模板内)。在 hello-world 目录中,使用以下代码创建一个名为 composer.json 的文件。
{
    "name": "tutorialspoint/hello-world",
    "authors": [
        {
            "name": "tutorialspoint"
        }
    ],
    "require": {},
    "autoload": {
        "psr-0": {
            "HelloWorld": "src/"
        }
    }
}
我们声明了我们使用 PSR-0 标准,所有扩展文件都在 src 文件夹下。
步骤 2 − 创建以下目录路径:hello-world/src/HelloWorld。
步骤 3 − 在 HelloWorld 文件夹中,创建一个名为 SayHello.php 的文件,其中包含以下代码。
<?php
   namespace HelloWorld;
   class SayHello {
      public static function world() {
         return 'Hello World, Composer!';
      }
   }
?>
我们定义了一个带有 world 静态函数的 SayHello 类,该函数返回我们的 hello 消息。
步骤 4 − 扩展已准备就绪。现在在您的 github 帐户中创建一个空存储库,并将此扩展推送到那里。
在 hello-world 文件夹中运行 −
- git init
- git add
- git commit -m "initial commit"
- git remote add origin <YOUR_NEWLY_CREATED_REPOSITORY>
- git push -u origin master
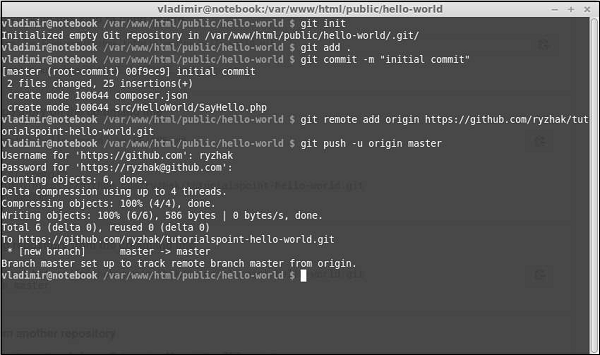
我们刚刚将扩展发送到 github。现在,转到 https://packagist.org,登录并单击顶部菜单中的 "提交"。
您将看到一个页面,您应该在其中输入您的 github 存储库以进行发布。
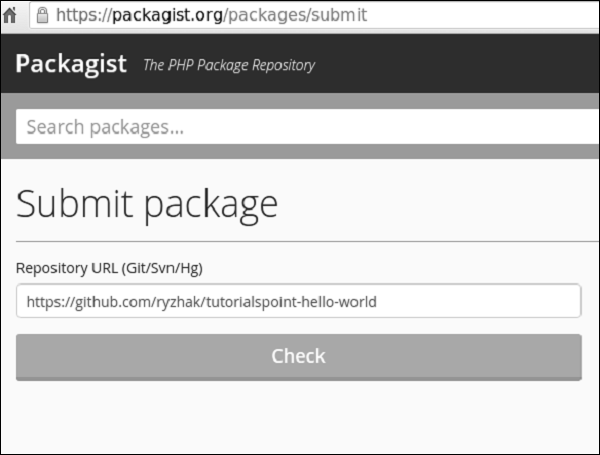
步骤 5 − 单击 "检查" 按钮,您的扩展程序已发布。
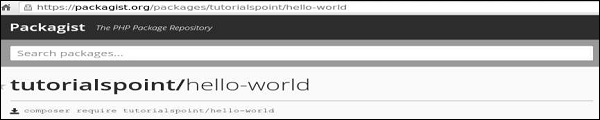
步骤 6 − 返回基本应用程序模板。将扩展添加到 composer.json。
{
   "name": "yiisoft/yii2-app-basic",
   "description": "Yii 2 Basic Project Template",
   "keywords": ["yii2", "framework", "basic", "project template"],
   "homepage": "http://www.yiiframework.com/",
   "type": "project",
   "license": "BSD-3-Clause",
   "support": {
      "issues": "https://github.com/yiisoft/yii2/issues?state=open",
      "forum": "http://www.yiiframework.com/forum/",
      "wiki": "http://www.yiiframework.com/wiki/",
      "irc": "irc://irc.freenode.net/yii",
      "source": "https://github.com/yiisoft/yii2"
   },
   "minimum-stability": "dev",
   "prefer-stable" : true,
   "require": {
      "php": ">=5.4.0",
      "yiisoft/yii2": ">=2.0.5",
      "yiisoft/yii2-bootstrap": "*",
      "yiisoft/yii2-swiftmailer": "*",
      "kartik-v/yii2-widget-datetimepicker": "*",
      "tutorialspoint/hello-world": "*"
   },
   "require-dev": {
      "yiisoft/yii2-codeception": "*",
      "yiisoft/yii2-debug": "*",
      "yiisoft/yii2-gii": "*",
      "yiisoft/yii2-faker": "*"
   },
   "config": {
      "process-timeout": 1800
   },
   "scripts": {
      "post-create-project-cmd": [
         "yii\composer\Installer::postCreateProject"
      ]
   },
   "extra": {
      "yii\composer\Installer::postCreateProject": {
         "setPermission": [
            {
               "runtime": "0777",
               "web/assets": "0777",
               "yii": "0755"
            }
         ],
         "generateCookieValidationKey": [
            "config/web.php"
         ]
      },
      "asset-installer-paths": {
         "npm-asset-library": "vendor/npm",
         "bower-asset-library": "vendor/bower"
      }
   }
}
步骤 7 − 在项目根文件夹中,运行 composer update 来安装/更新所有依赖项。
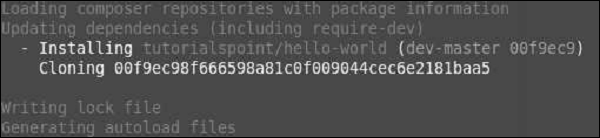
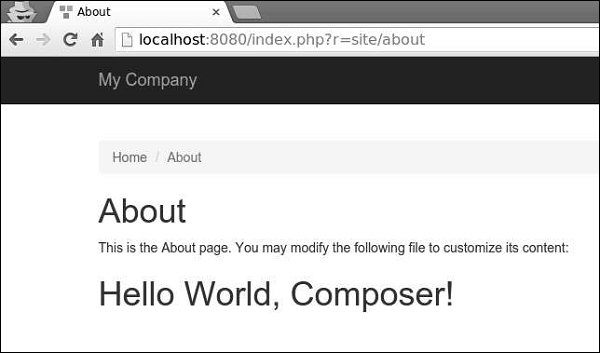
步骤 8 − 我们的扩展应该已安装。要使用它,请修改 SiteController 的 actionAbout 方法的 About 视图。
<?php
   /* @var $this yii\web\View */
   use yii\helpers\Html;
   $this->title = 'About';
   $this->params['breadcrumbs'][] = $this->title;
   $this->registerMetaTag(['name' => 'keywords', 'content' => 'yii, developing, views,
      meta, tags']);
   $this->registerMetaTag(['name' => 'description', 'content' => 'This is the
      description of this page!'], 'description');
?>
<div class = "site-about">
   <h1><?= Html::encode($this->title) ?></h1>
   <p>
      This is the About page. You may modify the following file to customize its content:
   </p>
   <h1><?= HelloWorld\SayHello::world();  ?></h1>
</div>
步骤 9 − 在 Web 浏览器中输入 http://localhost:8080/index.php?r=site/about。您将看到来自我们扩展的 hello world 消息。