Yii - RESTful API
Yii 提供以下有用的功能来实现 RESTful API −
- 快速原型设计
- 可自定义的对象序列化
- 响应格式(默认支持 JSON 和 XML)
- 集合数据和验证错误的格式化
- 高效路由
- 支持 HATEOAS
- 内置对 OPTIONS 和 HEAD 动词的支持
- 数据缓存和 HTTP 缓存
- 身份验证和授权
- 速率限制
要展示 RESTful API 的实际效果,我们需要数据。
准备数据库
步骤 1 −创建新数据库。数据库可以通过以下两种方式准备。
在终端中运行mysql -u root –p。
通过CREATE DATABASE helloworld CHARACTER SET utf8 COLLATE utf8_general_ci;创建新数据库
步骤 2 − 在 config/db.php 文件中配置数据库连接。以下配置适用于当前使用的系统。
<?php
   return [
      'class' => 'yii\db\Connection',
      'dsn' => 'mysql:host = localhost;dbname = helloworld',
      'username' => 'vladimir',
      'password' => '12345',
      'charset' => 'utf8',
   ];
?>
步骤 3 − 在根文件夹中运行 ./yii migration/create test_table。此命令将创建一个数据库迁移来管理我们的数据库。迁移文件应出现在项目根目录的 migrations 文件夹中。
步骤 4 − 以这种方式修改迁移文件(在本例中为 m160106_163154_test_table.php)。
<?php
   use yii\db\Schema;

   use yii\db\Migration;
   class m160106_163154_test_table extends Migration {
      public function safeUp() {
         $this->createTable("user", [
            "id" => Schema::TYPE_PK,
            "name" => Schema::TYPE_STRING,
            "email" => Schema::TYPE_STRING,
         ]);
         $this->batchInsert("user", ["name", "email"], [
            ["User1", "user1@gmail.com"],
            ["User2", "user2@gmail.com"],
            ["User3", "user3@gmail.com"],
            ["User4", "user4@gmail.com"],
            ["User5", "user5@gmail.com"],
            ["User6", "user6@gmail.com"],
            ["User7", "user7@gmail.com"],
            ["User8", "user8@gmail.com"],
            ["User9", "user9@gmail.com"],
            ["User10", "user10@gmail.com"],
            ["User11", "user11@gmail.com"],
         ]);
      }
      public function safeDown() {
         $this->dropTable('user');
      }
   }
?>
上述迁移创建了一个 user 表,其中包含以下字段:id、name 和 email。它还添加了一些演示用户。
步骤 5 − 在项目根目录下 运行 ./yii migration 以将迁移应用于数据库。
步骤 6 − 现在,我们需要为我们的 user 表创建一个模型。为简单起见,我们将使用 Gii 代码生成工具。打开此 url:http://localhost:8080/index.php?r=gii。然后,单击"模型生成器"标题下的"开始"按钮。填写表名("user")和模型类("MyUser"),点击"预览"按钮,最后点击"生成"按钮。
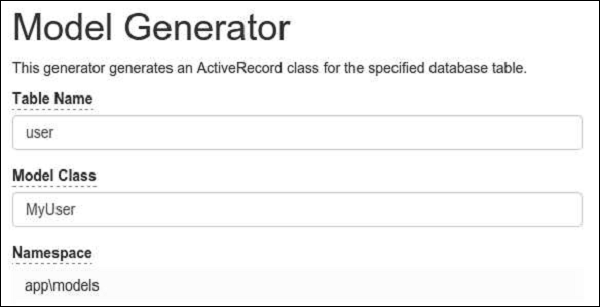
MyUser 模型应该出现在模型目录中。
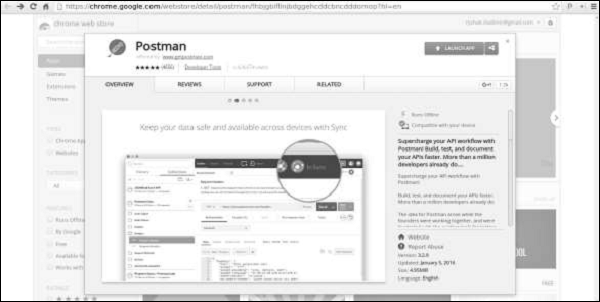
安装 Postman
Postman 是开发 RESTful 服务时的一个方便的工具。它提供了一个用于构建请求的有用界面。
您可以在 https://chrome.google.com/webstore/detail/postman/fhbjgbiflinjbdggehcddcbncdddomop?hl=en 找到此工具。
要安装它,请按"添加到 Chrome"按钮。