Google AMP - 图片
Google AMP 页面中使用的图片与标准 html 页面中的使用方式类似,但唯一的区别在于标签名称的使用方式以及一些附加属性。本章将详细讨论这些内容。
请遵守下面显示的语法 −
标准 HTML
<img src = "example.jpg" width = "300" height = "250" alt = "Example" ></img>
在 AMP 页面中
<amp-img src = "example.jpg" alt = "Example" height = "300" width = "250" ><//amp-img>
请注意,标签从 img 更改为 amp-img。
为什么使用 amp-img 而不是 img?
将 img 更改为 amp-img 的原因是为了更好地控制页面布局和加载图像的网络请求。Amp 为图像资源添加了延迟加载,并根据页面上可用的其他资源优先加载。
示例
请观察以下代码以更好地理解 −
<!doctype html>
<html amp lang = "en">
   <head>
      <meta charset = "utf-8">
      <script async src = "https://cdn.ampproject.org/v0.js"></script>
      <title>Google AMP - Image</title>
      <link rel = "canonical" href = "http://example.ampproject.org/articlemetadata.html">
      <meta name = "viewport" content = "width = device-width,
         minimum-scale = 1,initialscale = 1">

      <style amp-boilerplate>
         body{
            -webkit-animation:
            -amp-start 8s steps(1,end) 0s1 normal both;-moz-animation:
            -amp-start 8s steps(1,end) 0s 1 normal both;-msanimation:
            - amp-start 8s steps(1,end) 0s 1 normal both;animation:
            -amp-start 8s steps(1,end) 0s 1 normal both
         }
         @-webkit-keyframes
         -ampstart{from{visibility:hidden}to{visibility:visible}}@-moz-keyframes
         -ampstart{from{visibility:hidden}to{visibility:visible}}@-ms-keyframes
         -ampstart{from{visibility:hidden}to{visibility:visible}}@-o-keyframes
         -ampstart{from{visibility:hidden}to{visibility:visible}}@keyframes
         amp-start{from{visibility:hidden}to{visibility:visible}}
      </style>
      <noscript>
         <style amp-boilerplate>
            body{
               -webkit-animation:none;
               -moz-animation:none;
               -msanimation:none;
               animation:none
            }
         </style>
      </noscript>
   </head>
   <body>
      <h1>Google AMP - Image Example</h1>
      <amp-img alt = "Beautiful Flower" src = "images/flower.jpg"
         width = "246"
         height = "205">
      </amp-img>
   </body>
</html>
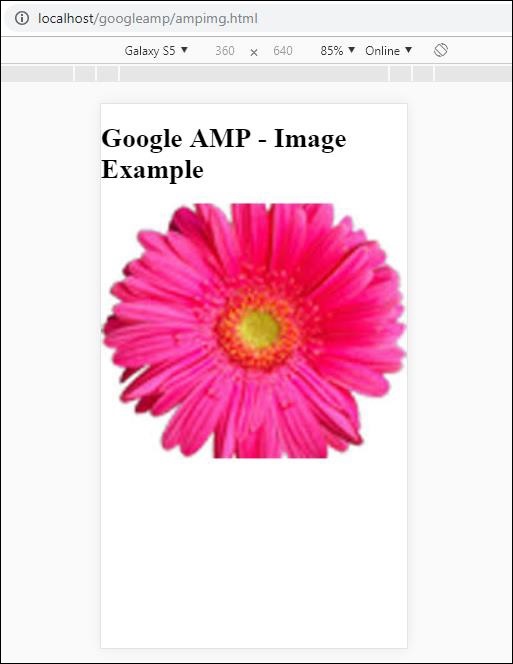
输出
执行上述代码后,您将看到如下所示的结果 −
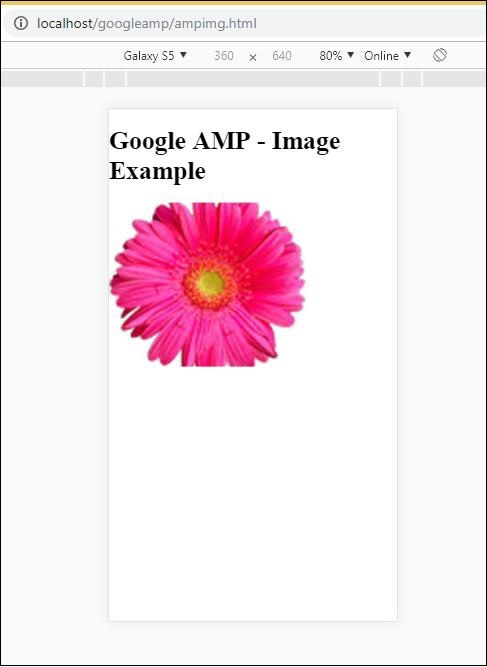
您还可以通过向 amp-img 标签添加属性 layout = "responsive" 来使图像具有响应性,如下所示
示例
请观察以下代码以更好地理解 −
<amp-img alt = "Beautiful Flower" src = "images/flower.jpg"
   width = "246"
   height = "205"
   layout = "responsive">
</amp-img>
输出
执行上述代码后,您将看到如下所示的结果 −