Google AMP - 社交小部件
Amp 提供支持,无需加载任何外部库即可在页面上显示社交小部件。在本章中,我们将讨论此处列出的一些流行社交小部件 −
Google AMP − Facebook
Google AMP − Twitter
Google AMP − Pinterest
Google Amp - Facebook
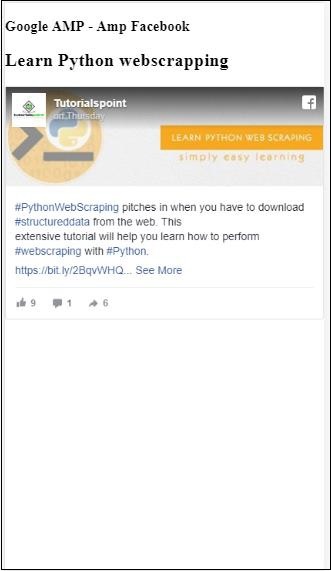
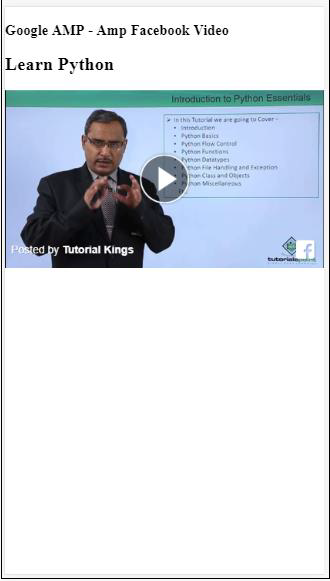
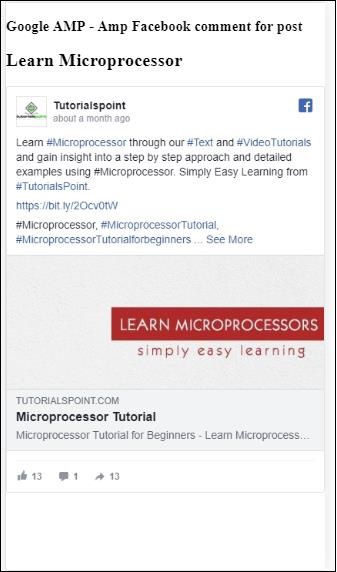
使用 amp-facebook 组件,我们可以连接到 facebook 并在 amp 页面中显示帖子、视频、评论。
要使用 amp-facebook,我们需要将以下脚本添加到页面 −
<script async custom-element = "amp-facebook"
    src = "https://cdn.ampproject.org/v0/amp-facebook-0.1.js">
</script>
Amp-facebook 标签格式
<amp-facebook
   width = "552"
   height = "310"
   layout = "responsive"
   data-href = "https://www.facebook.com/tutorialspointindia/
   posts/1784197988358159">
</amp-facebook>
此处显示了 amp-facebook 的一个工作示例 −
示例:显示来自 facebook 的帖子
<!doctype html>
<html amp lang = "en">
   <head>
      <meta charset = "utf-8">
      <script async src = "https://cdn.ampproject.org/v0.js">
      </script>
      <title>Google AMP - Amp Facebook</title>
      <link rel = "canonical" href =
      "http://example.ampproject.org/article-metadata.html">
      <meta name = "viewport" content = "width = device-width,
      minimum-scale = 1,initial-scale = 1">

      <style amp-boilerplate>
         body{
            -webkit-animation:
            -amp-start 8s steps(1,end) 0s 1 normal both;-moz-animation:
            -amp-start 8s steps(1,end) 0s 1 normal both;-ms-animation:
            -amp-start 8s steps(1,end) 0s 1 normal both;animation:
            -amp-start 8s steps(1,end) 0s 1 normal both
         }
         @-webkit-keyframes
         -amp-start{from{visibility:hidden}to{visibility:visible}}@-moz-keyframes
         -amp-start{from{visibility:hidden}to{visibility:visible}}@-ms-keyframes
         -amp-start{from{visibility:hidden}to{visibility:visible}}@-o-keyframes
         -amp-start{from{visibility:hidden}to{visibility:visible}}@keyframes
         -amp-start{from{visibility:hidden}to{visibility:visible}}
      </style>
      <noscript>
         <style amp-boilerplate>
            body{
               -webkit-animation:none;
               -moz-animation:none;
               -ms-animation:none;
               animation:none}
         </style>
      </noscript>
      <script async custom-element = "amp-facebook"
         src = "https://cdn.ampproject.org/v0/amp-facebook-0.1.js">
      </script>
   </head>
   <body>
      <h3>Google AMP - Amp Facebook</h3>
      <h2>Learn Python webscrapping</h2>
      <amp-facebook
         width = "552"
         height = "310"
         layout = "responsive"
         data-href = "https://www.facebook.com/tutorialspointindia/posts/1784197988358159">
      </amp-facebook>
   </body>
</html>
输出
示例:显示来自 Facebook 的视频
<!doctype html>
<html amp lang = "en">
   <head>
      <meta charset = "utf-8">
      <script async src = "https://cdn.ampproject.org/v0.js">
      </script>
      <title>Google AMP - Amp Facebook>/title>
      <link rel = "canonical" href =
      "http://example.ampproject.org/article-metadata.html">
      <meta name = "viewport" content = "width = device-width,
      minimum-scale = 1,initial-scale = 1">

      <style amp-boilerplate>
         body{
            -webkit-animation:
            -amp-start 8s steps(1,end) 0s 1 normal both;-moz-animation:
            -amp-start 8s steps(1,end) 0s 1 normal both;-ms-animation:
            -amp-start 8s steps(1,end) 0s 1 normal both;animation:
            -amp-start 8s steps(1,end) 0s 1 normal both
         }
         @-webkit-keyframes
         -amp-start{from{visibility:hidden}to{visibility:visible}}@-moz-keyframes
         -amp-start{from{visibility:hidden}to{visibility:visible}}@-ms-keyframes
         -amp-start{from{visibility:hidden}to{visibility:visible}}@-o-keyframes
         -amp-start{from{visibility:hidden}to{visibility:visible}}@keyframes
         -amp-start{from{visibility:hidden}to{visibility:visible}}
      </style>
      <noscript>
         <style amp-boilerplate>
            body{
               -webkit-animation:none;
               -moz-animation:none;
               -ms-animation:none;
               animation:none}
         </style>
      </noscript>
      <script async custom-element = "amp-facebook"
         src = "https://cdn.ampproject.org/v0/amp-facebook-0.1.js">
      </script>
   </head>
   <body>
      <h3<Google AMP - Amp Facebook Video</h3>
      <h2<Learn Python</h2>
      <amp-facebook
         width = "476"
         height = "316"
         layout = "responsive"
         data-embed-as = "video"
         data-href = "https://www.facebook.com/thetutorialkings/videos/701545820223256">
      </amp-facebook>
   </body>
</html>
输出
示例:显示 Facebook 帖子的评论
<!doctype html>
<html amp lang = "en">
   <head>
      <meta charset = "utf-8">
      <script async src = "https://cdn.ampproject.org/v0.js">
      </script>
      <title>Google AMP - Amp Facebook</title>
      <link rel = "canonical" href =
      "http://example.ampproject.org/article-metadata.html">
      <meta name = "viewport" content = "width = device-width,
      minimum-scale = 1,initial-scale = 1">

      <style amp-boilerplate>
         body{
            -webkit-animation:
            -amp-start 8s steps(1,end) 0s 1 normal both;-moz-animation:
            -amp-start 8s steps(1,end) 0s 1 normal both;-ms-animation:
            -amp-start 8s steps(1,end) 0s 1 normal both;animation:
            -amp-start 8s steps(1,end) 0s 1 normal both
         }
         @-webkit-keyframes
         -amp-start{from{visibility:hidden}to{visibility:visible}}@-moz-keyframes
         -amp-start{from{visibility:hidden}to{visibility:visible}}@-ms-keyframes
         -amp-start{from{visibility:hidden}to{visibility:visible}}@-o-keyframes
         -amp-start{from{visibility:hidden}to{visibility:visible}}@keyframes
         -amp-start{from{visibility:hidden}to{visibility:visible}}
      </style>
      <noscript>
         <style amp-boilerplate>
            body{
               -webkit-animation:none;
               -moz-animation:none;
               -ms-animation:none;
               animation:none}
         </style>
      </noscript>
      <script async custom-element = "amp-facebook"
         src = "https://cdn.ampproject.org/v0/amp-facebook-0.1.js">
      </script>
   </head>
   <body>
      <h3>Google AMP - Amp Facebook comment for post</h3>
      <h2>Learn Microprocessor</h2>
      <amp-facebook
         width = "552"
         height = "500"
         layout = "responsive"
         data-embed-type = "comment"
         data-href = "https://www.facebook.com/tutorialspointindia/posts/1744145745696717?
         comment_id=1744179789026646&include_parent=false">
      </amp-facebook>
   </body>
</html>
输出
amp-facebook 上可用的属性有
data-href(必填)− 您需要在此处指定 Facebook 网址。
data-embed-as− 可用的选项有帖子、视频和评论。默认情况下为帖子。
data-locale(必填)− 它以区域设置语言显示,您可以根据自己的选择进行更改。
data-include-comment-parent− 它采用 true 或 false 值。默认情况下为 false。当您使用 data-embed-as 选项作为评论时,如果您需要父级回复评论,您可以将此选项设置为 true。
到目前为止,我们已经了解了如何将帖子/视频和评论添加到 amp 页面。如果我们需要添加 Facebook 页面,amp 有一个名为 amp-facebook-page 的组件。
Amp Facebook 页面插件
Amp-facebook-page 组件为我们提供我们想要的 Facebook 页面详细信息。要使用 amp-facebook-page,我们需要添加以下脚本 −
<script async custom-element = "amp-facebook-page" src = "
https://cdn.ampproject.org/v0/amp-facebook-page-0.1.js">
</script>
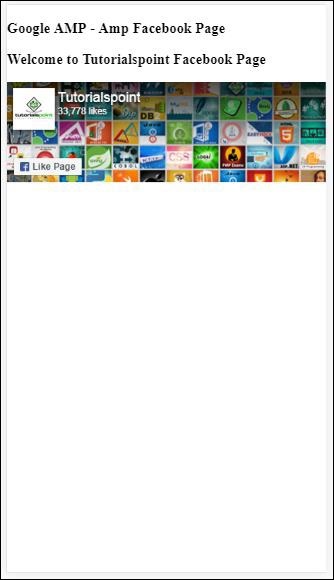
此处显示了使用 amp-facebook-page 的工作示例 −
示例
<!doctype html>
<html amp lang = "en">
   <head>
      <meta charset = "utf-8">
      <script async src = "https://cdn.ampproject.org/v0.js">
      </script>
      <title>Google AMP - Amp Facebook</title>
      <link rel = "canonical" href =
      "http://example.ampproject.org/article-metadata.html">
      <meta name = "viewport" content = "width = device-width,
      minimum-scale = 1,initial-scale = 1">

      <style amp-boilerplate>
         body{
            -webkit-animation:
            -amp-start 8s steps(1,end) 0s 1 normal both;-moz-animation:
            -amp-start 8s steps(1,end) 0s 1 normal both;-ms-animation:
            -amp-start 8s steps(1,end) 0s 1 normal both;animation:
            -amp-start 8s steps(1,end) 0s 1 normal both
         }
         @-webkit-keyframes
         -amp-start{from{visibility:hidden}to{visibility:visible}}@-moz-keyframes
         -amp-start{from{visibility:hidden}to{visibility:visible}}@-ms-keyframes
         -amp-start{from{visibility:hidden}to{visibility:visible}}@-o-keyframes
         -amp-start{from{visibility:hidden}to{visibility:visible}}@keyframes
         -amp-start{from{visibility:hidden}to{visibility:visible}}
      </style>
      <noscript>
         <style amp-boilerplate>
            body{
               -webkit-animation:none;
               -moz-animation:none;
               -ms-animation:none;
               animation:none}
         </style>
      </noscript>
      <script async custom-element = "amp-facebook-page"
         src = "https://cdn.ampproject.org/v0/amp-facebook-page-0.1.js">
      </script>
   </head>
   <body>
      <h3>Google AMP - Amp Facebook Page</h3>
      <h3>Welcome to Tutorialspoint Facebook Page</h3>
      <amp-facebook-page
         width = "340"
         height = "130"
         layout = "responsive"
         data-href = "https://www.facebook.com/tutorialspointindia/">
      </amp-facebook-page>
   </body>
</html>
输出
Amp-facebook-like
要嵌入 Facebook 页面点赞按钮插件,我们可以使用 amp-facebook-like 组件。要使用 amp-facebook-like,我们需要添加以下脚本 −
"<script async custom-element = "amp-facebook-like"
   src = "https://cdn.ampproject.org/v0/amp-facebook-like-0.1.js">
</script>
示例
<!doctype html>
<html amp lang = "en">
   <head>
      <meta charset = "utf-8">
      <script async src = "https://cdn.ampproject.org/v0.js">
      </script>
      <title>Google AMP - Amp Facebook</title>
      <link rel = "canonical"
      href = "http://example.ampproject.org/article-metadata.html">
      <meta name = "viewport" content = "width = device-width,
      minimum-scale = 1,initial-scale = 1">

      <style amp-boilerplate>
         body{
            -webkit-animation:
            -amp-start 8s steps(1,end) 0s 1 normal both;-moz-animation:
            -amp-start 8s steps(1,end) 0s 1 normal both;-ms-animation:
            -amp-start 8s steps(1,end) 0s 1 normal both;animation:
            -amp-start 8s steps(1,end) 0s 1 normal both
         }
         @-webkit-keyframes
         -amp-start{from{visibility:hidden}to{visibility:visible}}@-moz-keyframes
         -amp-start{from{visibility:hidden}to{visibility:visible}}@-ms-keyframes
         -amp-start{from{visibility:hidden}to{visibility:visible}}@-o-keyframes
         -amp-start{from{visibility:hidden}to{visibility:visible}}@keyframes
         -amp-start{from{visibility:hidden}to{visibility:visible}}
      </style>
      <noscript>
         <style amp-boilerplate>
            body{
               -webkit-animation:none;
               -moz-animation:none;
               -ms-animation:none;
               animation:none}
         </style>
      </noscript>
      <script async custom-element = "amp-facebook-like"
         src = "https://cdn.ampproject.org/v0/amp-facebook-like-0.1.js">
      </script>
      <style amp-custom>
         amp-facebook-like {
            margin: 1rem
         }
      </style>
   </head>
   <body>
      <h3>Google AMP - Amp Facebook Likes</h3>
      <h3>Welcome to Tutorialspoint Facebook Likes</h3>
      <amp-facebook-like
         width = "110"
         height = "20"
         layout = "fixed"
         data-layout = "button_count"
         data-href = "https://www.facebook.com/tutorialspointindia">
      </amp-facebook-like>
   </body>
</html>
输出
Amp Facebook 评论插件
Amp-facebook-comments 组件将提供给定页面的评论。
要使用 amp-facebook-comments,我们需要添加以下脚本 −
<script async custom-element = "amp-facebook-comments"
   src = "https://cdn.ampproject.org/v0/amp-facebook-comments-0.1.js">
</script>
示例
<!doctype html>
<html amp lang = "en">
   <head>
      <meta charset = "utf-8">
      <script async src = "https://cdn.ampproject.org/v0.js">
      </script>
      <title>Google AMP - Amp Facebook</title>
      <link rel = "canonical" href =
      "http://example.ampproject.org/article-metadata.html">
      <meta name = "viewport" content = "width = device-width,
      minimum-scale = 1,initial-scale = 1">

      <style amp-boilerplate>
         body{
            -webkit-animation:
            -amp-start 8s steps(1,end) 0s 1 normal both;-moz-animation:
            -amp-start 8s steps(1,end) 0s 1 normal both;-ms-animation:
            -amp-start 8s steps(1,end) 0s 1 normal both;animation:
            -amp-start 8s steps(1,end) 0s 1 normal both
         }
         @-webkit-keyframes
         -amp-start{from{visibility:hidden}to{visibility:visible}}@-moz-keyframes
         -amp-start{from{visibility:hidden}to{visibility:visible}}@-ms-keyframes
         -amp-start{from{visibility:hidden}to{visibility:visible}}@-o-keyframes
         -amp-start{from{visibility:hidden}to{visibility:visible}}@keyframes
         -amp-start{from{visibility:hidden}to{visibility:visible}}
      </style>
      <noscript>
         <style amp-boilerplate>
            body{
               -webkit-animation:none;
               -moz-animation:none;
               -ms-animation:none;
               animation:none}
         </style>
      </noscript>
      <script async custom-element = "amp-facebook-comments"
         src = "https://cdn.ampproject.org/v0/amp-facebook-comments-0.1.js">
      </script>
      <style amp-custom>
         amp-facebook-like {
            margin: 1rem
         }
      </style>
   </head>
   <body>
      <h3>Google AMP - Amp Facebook Likes</h3>
      <amp-facebook-comments
         width = 486
         height = 657
         layout = "responsive"
         data-numposts = "2"
         data-href = "https://developers.facebook.com/docs/plugins/comments">
      </amp-facebook-comments>
   </body>
</html>
输出
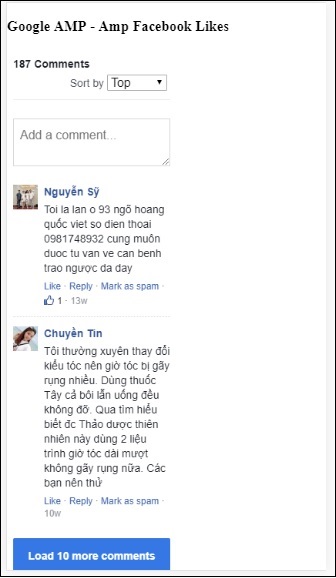
属性 data-numposts 决定屏幕上显示的评论数量。如果要获取所有评论,可以删除该属性。
Google AMP - Pinterest
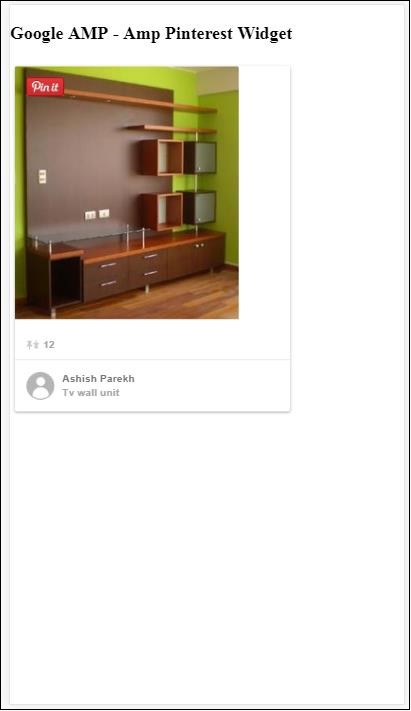
Amp 使用 amp-pinterest 组件提供了一个 pinterest 小部件。我们可以使用此组件显示 pinterest 小部件、pinterest 保存按钮和 pinterest 关注按钮。
要开始使用 amp-pinterest,我们需要添加以下脚本 −
<script async custom-element="amp-pinterest" src="https://cdn.ampproject.org/v0/amp-pinterest-0.1.js">
</script>
Amp-pinterest 标签
<amp-pinterest width = 300 height = 450 data-do = "embedPin"
    data-url = "https://in.pinterest.com/pin/856739529089490354/">
</amp-pinterest>
Pinterest 小部件
示例
要显示 pinterest 小部件,我们需要使用属性 data-do="embedPin"。此处显示了相同的工作示例 −
<!doctype html>
<html amp lang = "en">
   <head>
      <meta charset = "utf-8">
      <script async src = "https://cdn.ampproject.org/v0.js">
      </script>
      <title>Google AMP - Amp Pinterest Widget</title>
      <link rel = "canonical" href =
      "http://example.ampproject.org/article-metadata.html">
      <meta name = "viewport" content = "width = device-width,
      minimum-scale = 1,initial-scale = 1">

      <style amp-boilerplate>
         body{
            -webkit-animation:
            -amp-start 8s steps(1,end) 0s 1 normal both;-moz-animation:
            -amp-start 8s steps(1,end) 0s 1 normal both;-ms-animation:
            -amp-start 8s steps(1,end) 0s 1 normal both;animation:
            -amp-start 8s steps(1,end) 0s 1 normal both}@-webkit-keyframes
            -amp-start 8s steps(1,end) 0s 1 normal both
         }
         @-webkit-keyframes
         -amp-start{from{visibility:hidden}to{visibility:visible}}@-moz-keyframes
         -amp-start{from{visibility:hidden}to{visibility:visible}}@-ms-keyframes
         -amp-start{from{visibility:hidden}to{visibility:visible}}@-o-keyframes
         -amp-start{from{visibility:hidden}to{visibility:visible}}@keyframes
         -amp-start{from{visibility:hidden}to{visibility:visible}}
      </style>
      <noscript>
         <style amp-boilerplate>
            body{
            -webkit-animation:none;
            -moz-animation:none;
            -ms-animation:none;
            animation:none}
         </style>
      </noscript>
      <script async custom-element = "amp-pinterest"
         src = "https://cdn.ampproject.org/v0/amp-pinterest-0.1.js">
      </script>
      <style amp-custom>
         amp-facebook-like {
            margin: 1rem
         }
      </style>
   </head>
   <body>
      <h3>Google AMP - Amp Pinterest Widget</h3>
      <amp-pinterest
         width = 300
         height = 450
         data-do = "embedPin"
         data-url = "https://in.pinterest.com/pin/856739529089490354/">
      </amp-pinterest>
   </body>
</html>
输出
Pinterest 保存按钮
要显示 Pinterest 的保存按钮,我们需要使用属性 data-do="buttonPin"。此处显示了 Pinterest 保存按钮的一个工作示例 −
示例
<!doctype html>
<html amp lang = "en">
   <head>
      <meta charset = "utf-8">
      <script async src = "https://cdn.ampproject.org/v0.js">
      </script>
      <title>Google AMP - Amp Pinterest Widget</title>
      <link rel = "canonical" href =
      "http://example.ampproject.org/article-metadata.html">
      <meta name = "viewport" content = "width = device-width,
      minimum-scale = 1,initial-scale = 1">

      <style amp-boilerplate>
         body{
            -webkit-animation:
            -amp-start 8s steps(1,end) 0s 1 normal both;-moz-animation:
            -amp-start 8s steps(1,end) 0s 1 normal both;-ms-animation:
            -amp-start 8s steps(1,end) 0s 1 normal both;animation:
            -amp-start 8s steps(1,end) 0s 1 normal both
         }
         @-webkit-keyframes
         -amp-start{from{visibility:hidden}to{visibility:visible}}@-moz-keyframes
         -amp-start{from{visibility:hidden}to{visibility:visible}}@-ms-keyframes
         -amp-start{from{visibility:hidden}to{visibility:visible}}@-o-keyframes
         -amp-start{from{visibility:hidden}to{visibility:visible}}@keyframes
         -amp-start{from{visibility:hidden}to{visibility:visible}}
      </style>
      <noscript>
         <style amp-boilerplate>
            body{
               -webkit-animation:none;
               -moz-animation:none;
               -ms-animation:none;
               animation:none}
         </style>
      </noscript>
      <script async custom-element = "amp-pinterest"
         src = "https://cdn.ampproject.org/v0/amp-pinterest-0.1.js">
      </script>
      <style amp-custom>
         amp-facebook-like {
            margin: 1rem
         }
      </style>
   </head>
   <body>
      <h3>Google AMP - Amp Pinterest Save Button</h3>
      <h3>TutorialsPoint - ReactJS</h3>
      <amp-img
         src = "images/reactjs.png"
         width = "100"
         height = "100"
         alt = "blockchain image">
      </amp-img>
      <amp-pinterest
         height = "18"
         width = "56"
         data-do = "buttonPin"
         data-url = "https://www.tutorialspoint.com/"
         data-media = "https://www.tutorialspoint.com/images/tp-logo-diamond.png"
         data-description = "amp-pinterest in action">
      </amp-pinterest>
   </body>
</html>
输出
Pinterest 关注按钮
要显示 Pinterest 的保存关注按钮,我们需要使用属性 data-do="buttonFollow"。此处显示了 Pinterest 保存按钮的一个工作示例 −
示例
<!doctype html>
<html amp lang = "en">
   <head>
      <meta charset = "utf-8">
      <script async src = "https://cdn.ampproject.org/v0.js">
      </script>
      <title>Google AMP - Amp Pinterest Widget</title>
      <link rel = "canonical" href =
      "http://example.ampproject.org/article-metadata.html">
      <meta name = "viewport" content = "width = device-width,
      minimum-scale = 1,initial-scale = 1">

      <style amp-boilerplate>
         body{
            -webkit-animation:
            -amp-start 8s steps(1,end) 0s 1 normal both;-moz-animation:
            -amp-start 8s steps(1,end) 0s 1 normal both;-ms-animation:
            -amp-start 8s steps(1,end) 0s 1 normal both;animation:
            -amp-start 8s steps(1,end) 0s 1 normal both
         }
         @-webkit-keyframes
         -amp-start{from{visibility:hidden}to{visibility:visible}}@-moz-keyframes
         -amp-start{from{visibility:hidden}to{visibility:visible}}@-ms-keyframes
         -amp-start{from{visibility:hidden}to{visibility:visible}}@-o-keyframes
         -amp-start{from{visibility:hidden}to{visibility:visible}}@keyframes
         -amp-start{from{visibility:hidden}to{visibility:visible}}
      </style>
       <noscript>
         <style amp-boilerplate>
            body{
               -webkit-animation:none;
               -moz-animation:none;
               -ms-animation:none;
               animation:none}
         </style>
      </noscript>
      <script async custom-element = "amp-pinterest"
         src = "https://cdn.ampproject.org/v0/amp-pinterest-0.1.js">
      </script>
      <style amp-custom>
         amp-facebook-like {
            margin: 1rem
         }
      </style>
   </head>
   <body>
      <h3>Google AMP - Amp Pinterest Follow Button</h3>
      <amp-pinterest
         height = 50
         width = 130
         data-do = "buttonFollow"
         data-href = "https://in.pinterest.com/wedgehairstyles/"
         data-label = "wedgehairstyles">
      </amp-pinterest>
   </body>
</html>
输出
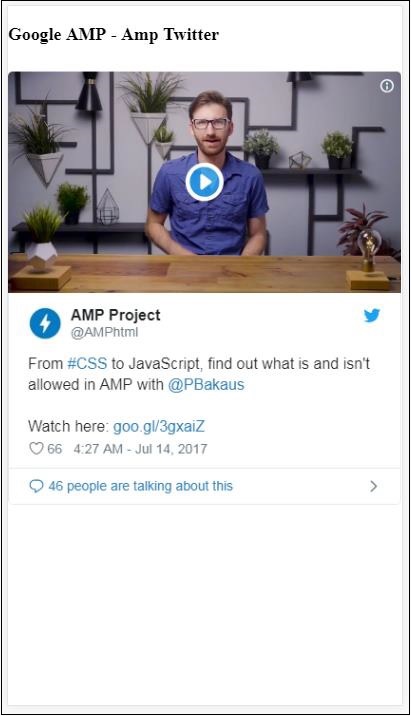
Google Amp - Twitter
Amp 有一个组件可以使用 amp-twitter 显示 Twitter 信息。
要使用 amp-twitter,我们需要添加以下脚本 −
<script async custom-element = "amp-twitter"
src = "https://cdn.ampproject.org/v0/amp-twitter-0.1.js">
</script>
Amp-twitter 标签
<amp-twitter width = "375" height = "472"
    layout = "responsive" data-tweetid = "885634330868850689">
</amp-twitter>
此处显示了一个显示推文的工作示例
示例
<!doctype html>
<html amp lang = "en">
   <head>
      <meta charset = "utf-8">
      <script async src = "https://cdn.ampproject.org/v0.js">
      </script>
      <title>Google AMP - Amp Twitter</title>
      <link rel = "canonical" href =
      "http://example.ampproject.org/article-metadata.html">
      <meta name = "viewport" content = "width = device-width,
      minimum-scale = 1,initial-scale = 1">

      <style amp-boilerplate>
         body{
            -webkit-animation:
            -amp-start 8s steps(1,end) 0s 1 normal both;-moz-animation:
            -amp-start 8s steps(1,end) 0s 1 normal both;-ms-animation:
            -amp-start 8s steps(1,end) 0s 1 normal both;animation:
            -amp-start 8s steps(1,end) 0s 1 normal both
         }
         @-webkit-keyframes
         -amp-start{from{visibility:hidden}to{visibility:visible}}@-moz-keyframes
         -amp-start{from{visibility:hidden}to{visibility:visible}}@-ms-keyframes
         -amp-start{from{visibility:hidden}to{visibility:visible}}@-o-keyframes
         -amp-start{from{visibility:hidden}to{visibility:visible}}@keyframes
         -amp-start{from{visibility:hidden}to{visibility:visible}}
      </style>
      <noscript>
         <style amp-boilerplate>
            body{
               -webkit-animation:none;
               -moz-animation:none;
               -ms-animation:none;
               animation:none}
         </style>
      </noscript>
      <script async custom-element = "amp-twitter" src =
         "https://cdn.ampproject.org/v0/amp-twitter-0.1.js">
      </script>
      <style amp-custom>
         amp-facebook-like {
            margin: 1rem
         }
      </style>
   </head>
   <body>
      <h3>Google AMP - Amp Twitter</h3>
      <amp-twitter
         width = "375"
         height = "472"
         layout = "responsive"
         data-tweetid = "885634330868850689">
      </amp-twitter>
   </body>
</html>
输出