
Google AMP - 下一页
Amp 下一页是一个 amp 组件,当用户到达文档末尾时,它可以动态加载更多页面。本章详细介绍了这一概念。
要使用 amp-next-page 组件,我们需要添加以下脚本 −
<script async custom-element = "amp-next-page"
src = "https://cdn.ampproject.org/v0/amp-next-page-0.1.js">
</script>
此外,amp-next-page 尚未完全启动,因此要使测试页面正常运行,请添加以下元标记 −
<meta name = "amp-experiments-opt-in" content = "amp-next-page">
要动态加载页面,我们需要将页面网址提供给 type="application/json" 的脚本标记,如下所示 −
<amp-next-page>
   <script type = "application/json">
      {

         "pages": [
            {
            "title": "Page 2",
            "image": "images/christmas1.jpg",
            "ampUrl": "ampnextpage1.html"
            },
            {
            "title": "Page 3",
            "image": "images/christmas1.jpg",
            "ampUrl": "ampnextpage2.html"
            }
         ]
      }
   </script>
</amp-next-page>
在上面的标签中,我们尝试加载 2 个页面 ampnextpage1.html 和 ampnextpage2.html。
现在,让我们看看最终的输出。所有需要加载的页面都必须添加到包含标题、图像和 ampUrl 的页面数组中。
示例
<!doctype html>
<html amp>
   <head>
      <meta charset = "utf-8">
      <title>Google Amp - Next Page</title>
      <link rel = "canonical" href = "ampnextpage.html">
      <meta name = "amp-experiments-opt-in" content = "amp-next-page">
      <meta name = "viewport" content ="width = device-width,
      minimum-scale = 1,initial-scale = 1">

      <style amp-boilerplate>
         body {
            -webkit-animation:
            -amp-start 8s steps(1,end) 0s 1 normal both;-moz-animation:
            -amp-start 8s steps(1,end) 0s 1 normal both;-ms-animation:
            -amp-start 8s steps(1,end) 0s 1 normal both;animation:
            -amp-start 8s steps(1,end) 0s 1 normal both
         }
         @-webkit-keyframes
         -amp-start{from{visibility:hidden}to{visibility:visible}}@-moz-keyframes
         -amp-start{from{visibility:hidden}to{visibility:visible}}@-ms-keyframes
         -amp-start{from{visibility:hidden}to{visibility:visible}}@-o-keyframes
         -amp-start{from{visibility:hidden}to{visibility:visible}}@keyframes
         -amp-start{from{visibility:hidden}to{visibility:visible}}
      </style>

      <noscript>
         <style amp-boilerplate>
            body{
               -webkit-animation:none;
               -moz-animation:none;
               -ms-animation:none;
               animation:none
            }
         </style>
      </noscript>
         <script async src="https://cdn.ampproject.org/v0.js">
      </script>
      <script async custom-element = "amp-next-page"
         src = "https://cdn.ampproject.org/v0/amp-next-page-0.1.js">
      </script>
   </head>
   <body>
      <h1>Google Amp - Next Page</h1>
      <h1>Page 1</h1>
      <p>Start of page 1</p>
      <p>此内容从第 1 页加载</p>
      <p>此内容从第 1 页加载</p>
      <p>此内容从第 1 页加载</p>
      <p>此内容从第 1 页加载</p>
      <p>此内容从第 1 页加载</p>
      <p>此内容从第 1 页加载</p>
      <p>此内容从第 1 页加载</p>
      <p>此内容从第 1 页加载</p>
      <p>此内容从第 1 页加载</p>
      <p>此内容从第 1 页加载</p>
      <p>此内容从第 1 页加载</p>
      <p>此内容从第 1 页加载</p>
      <p>此内容从第 1 页加载</p>
      <p>此内容从第 1 页加载</p>
      <p>此内容从第 1 页加载</p>
      <p>此内容从第 1 页加载</p>
      <p>此内容从第 1 页加载</p>
      <p>此内容从第 1 页加载</p>
      <p>此内容从第 1 页加载</p>
      <p>此内容从第 1 页加载</p>
      <p>此内容从第 1 页加载</p>
      <p>此内容从第 1 页加载</p>
      <p>End of page 1</p>

      <amp-next-page>
         <script type = "application/json">
            {
               "pages": [
                  {
                     "title": "Page 2",
                     "image": "images/christmas1.jpg",
                     "ampUrl": "ampnextpage1.html"
                  },
                  {
                     "title": "Page 3",
                     "image": "images/christmas1.jpg",
                     "ampUrl": "ampnextpage2.html"
                  }
               ]
            }
         </script>
      </amp-next-page>
   </body>
</html>
输出
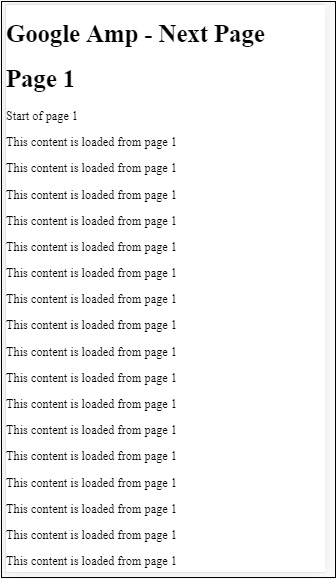
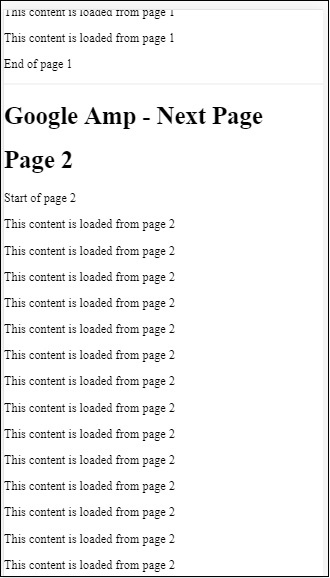
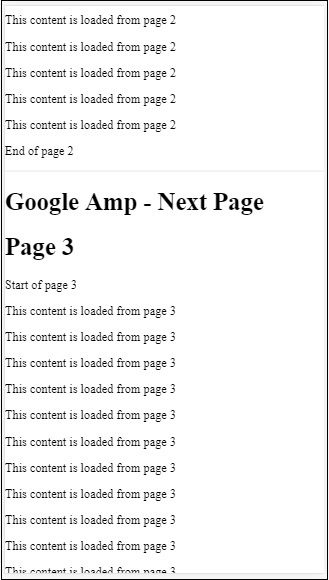
您可以注意到,当您滚动时,将显示要加载的下一页,并且地址栏中的页面网址也会更改。

