Kivy - 小部件动画
Kivy 工具包中的任何小部件都可以进行动画处理。您需要做的就是定义一个 Animation 类的对象,选择目标小部件的至少一个属性进行动画处理,并指定动画效果完成后要达到的最终值。调用 Animation 对象的 start() 方法,将目标小部件传递给它。
anim = Animation(property1=value1, property2=value2, ..)
anim.start(widget)
在下面的示例中,我们放置了四个 Kivy 按钮。两个按钮沿 X 轴放置,保持"y"坐标为 0,随机化"x"坐标,以便一个按钮放置在前半部分,另一个放置在后半部分。
同样,另外两个按钮沿 Y 轴放置,它们的"x"坐标为 0,y 坐标值随机分配。
沿 X 轴放置的按钮会动画上下移动。"y"坐标值从其初始值开始一直到窗口的最大高度,然后回到原始位置。由于 repeat 属性设置为 True,上下移动循环进行。两个水平放置的按钮都绑定到下面的方法 −
def animate1(self, instance):
   animation = Animation(pos=(instance.pos[0], Window.height))
   animation += Animation(pos=(instance.pos[0], 0))
   animation.repeat=True
   animation.start(instance)
类似地,垂直排列的按钮 b3 和 b4 绑定到以下方法。它们的"x"坐标值从其当前值变为最大宽度并变回。
def animate2(self, instance):
   animation = Animation(pos=(Window.width, instance.pos[1]))
   animation += Animation(pos=(0, instance.pos[1]))
   animation.repeat=True
   animation.start(instance)
虽然每个按钮的动画可以通过按下每个按钮开始,但我们可以让所有四个按钮在触摸事件发生时同时开始动画。上述回调由 trigger_action() 方法触发。
def on_touch_down(self, *args):
   self.b1.trigger_action(5)
   self.b2.trigger_action(10)
   self.b3.trigger_action(15)
   self.b4.trigger_action(20)
其余代码只是在 App 类的 build() 方法中设置四个按钮的 UI。
示例
以下是完整代码 −
import kivy
kivy.require('1.0.7')
import random
from kivy.animation import Animation
from kivy.app import App
from kivy.uix.button import Button
from kivy.uix.floatlayout import FloatLayout
from kivy.core.window import Window

Window.size = (720,400)

class TestApp(App):
   def animate1(self, instance):
      animation = Animation(pos=(instance.pos[0], Window.height))
      animation += Animation(pos=(instance.pos[0], 0))
      animation.repeat=True
      animation.start(instance)

   def animate2(self, instance):
      animation = Animation(pos=(Window.width, instance.pos[1]))
      animation += Animation(pos=(0, instance.pos[1]))
      animation.repeat=True
      animation.start(instance)

   def on_touch_down(self, *args):
      self.b1.trigger_action(5)
      self.b2.trigger_action(10)
      self.b3.trigger_action(15)
      self.b4.trigger_action(20)

   def build(self):
      box=FloatLayout()
      # create a button and attach animate() method
      # as a on_press handler
      self.b1 = Button(
         size_hint=(.15, .08), text='BTN1',
         pos=(random.randint(Window.width/2, Window.width), 0),
         on_press=self.animate1
      )
      self.b2 = Button(
         size_hint=(.15, .08), text='BTN2',
         pos=(random.randint(0, Window.width/2), 0),
         on_press=self.animate1
      )
      self.b3 = Button(
         size_hint=(.15, .08), text='BTN3',
         pos=(0, random.randint(0, Window.height/2)),
         on_press=self.animate2
      )
      self.b4 = Button(
         size_hint=(.15, .08), text='BTN4',
         pos=(0, random.randint(Window.height/2, Window.height)),
         on_press=self.animate2
      )

      box.add_widget(self.b1)
      box.add_widget(self.b2)
      box.add_widget(self.b3)
      box.add_widget(self.b4)

      box.bind(on_touch_down=self.on_touch_down)
      return box

if __name__ == '__main__':
   TestApp().run()
输出
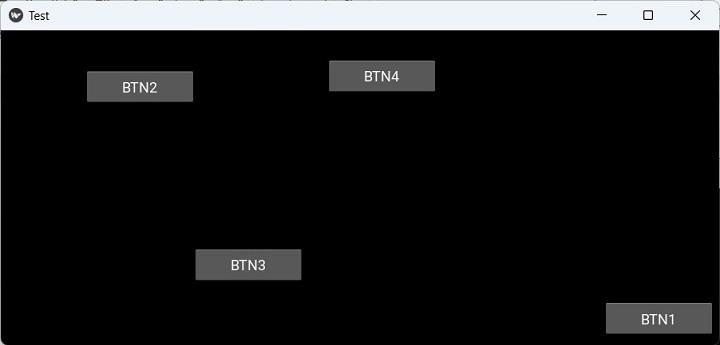
程序开始时按钮位置随机化。 单击应用程序窗口上的任意位置。 按钮 b1 和 b2 将开始上下移动。 按钮 b3 和 b4 将开始前后移动。
这是初始位置+;
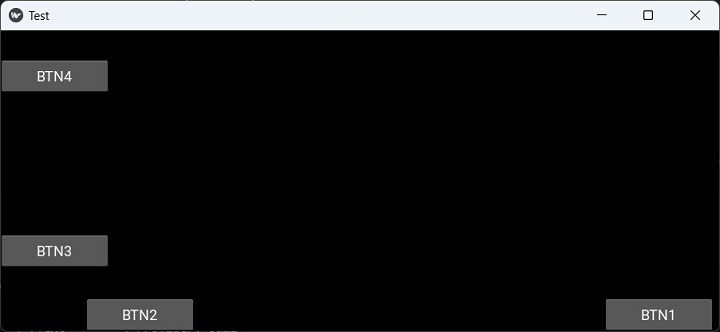
下图是按钮移动时的位置截图−