
Android - 动画
动画是创造运动和形状变化的过程
android 中的动画可以通过多种方式实现。 在本章中,我们将讨论一种简单且广泛使用的动画制作方法,称为补间动画。
补间动画
补间动画采用一些参数,例如开始值、结束值、大小、持续时间、旋转角度等,并在该对象上执行所需的动画。 它可以应用于任何类型的对象。 所以为了使用它,android 为我们提供了一个名为 Animation 的类。
为了在 android 中执行动画,我们将调用 AnimationUtils 类的静态函数 loadAnimation()。 我们将在动画对象的实例中接收结果。 它的语法如下 −
Animation animation = AnimationUtils.loadAnimation(getApplicationContext(),
   R.anim.myanimation);
注意第二个参数。 它是我们的动画 xml 文件的名称。 您必须在 res 目录下创建一个名为 anim 的新文件夹,并在 anim 文件夹下创建一个 xml 文件。
这个动画类有很多有用的功能,如下所列 −
| 序号 | 方法 & 描述 |
|---|---|
| 1 |
start() 此方法启动动画。 |
| 2 |
setDuration(long duration) 此方法设置动画的持续时间。 |
| 3 |
getDuration() 此方法获取上述方法设置的持续时间 |
| 4 |
end() 此方法结束动画。 |
| 5 |
cancel() 此方法取消动画。 |
为了将此动画应用于对象,我们只需调用对象的 startAnimation() 方法。 它的语法是 −
ImageView image1 = (ImageView)findViewById(R.id.imageView1);
image.startAnimation(animation);
示例
下面的例子演示了动画在android中的使用。 您可以从菜单中选择不同类型的动画,所选动画将应用于屏幕上的 imageView。
要试验这个例子,你需要在模拟器或实际设备上运行它。
| 步骤 | 描述 |
|---|---|
| 1 | 您将使用 Android Studio IDE 创建一个 Android 应用程序并将其命名为 My Application,位于 com.example.sairamkrishna.myapplication 包下。 |
| 2 | 修改 src/MainActivity.java 文件添加动画代码 |
| 3 | 修改布局 XML 文件 res/layout/activity_main.xml 如果需要,添加任何 GUI 组件。 |
| 4 | 在 res 目录下新建一个文件夹,命名为 anime。 访问 res/anim 确认 |
| 5 | 右键单击动画并单击新建并选择 Android XML 文件 您必须创建下面列出的不同文件。 |
| 6 | 创建文件 myanimation.xml、clockwise.xml、fade.xml、move.xml、blink.xml、slide.xml 并添加 XML 代码。 |
| 7 | 无需更改默认字符串常量。 Android Studio 负责处理 values/string.xml 中的默认常量。 |
| 8 | 运行应用程序并选择一个正在运行的 android 设备并在其上安装应用程序并验证结果。 |
这是MainActivity.java的修改代码。
package com.example.sairamkrishna.myapplication;

import android.app.Activity;
import android.os.Bundle;
import android.view.View;
import android.view.animation.Animation;
import android.view.animation.AnimationUtils;
import android.widget.ImageView;
import android.widget.Toast;

public class MainActivity extends Activity {
   @Override
   protected void onCreate(Bundle savedInstanceState) {
      super.onCreate(savedInstanceState);
      setContentView(R.layout.activity_main);
   }

   public void clockwise(View view){
      ImageView image = (ImageView)findViewById(R.id.imageView);
      Animation animation = AnimationUtils.loadAnimation(getApplicationContext(),
         R.anim.myanimation);
      image.startAnimation(animation);
   }

   public void zoom(View view){
      ImageView image = (ImageView)findViewById(R.id.imageView);
      Animation animation1 = AnimationUtils.loadAnimation(getApplicationContext(),
         R.anim.clockwise);
      image.startAnimation(animation1);
   }

   public void fade(View view){
      ImageView image = (ImageView)findViewById(R.id.imageView);
      Animation animation1 =
         AnimationUtils.loadAnimation(getApplicationContext(),
            R.anim.fade);
      image.startAnimation(animation1);
   }

   public void blink(View view){
      ImageView image = (ImageView)findViewById(R.id.imageView);
      Animation animation1 =
         AnimationUtils.loadAnimation(getApplicationContext(),
            R.anim.blink);
      image.startAnimation(animation1);
   }

   public void move(View view){
      ImageView image = (ImageView)findViewById(R.id.imageView);
      Animation animation1 =
         AnimationUtils.loadAnimation(getApplicationContext(), R.anim.move);
      image.startAnimation(animation1);
   }

   public void slide(View view){
      ImageView image = (ImageView)findViewById(R.id.imageView);
      Animation animation1 =
         AnimationUtils.loadAnimation(getApplicationContext(), R.anim.slide);
      image.startAnimation(animation1);
   }
}
这是res/layout/activity_main.xml的修改代码。
这里 abc 表示关于 tutorialspoint 的 logo
<RelativeLayout
   xmlns:android="http://schemas.android.com/apk/res/android"
   xmlns:tools="http://schemas.android.com/tools"
   android:layout_width="match_parent"
   android:layout_height="match_parent"
   android:paddingLeft="@dimen/activity_horizontal_margin"
   android:paddingRight="@dimen/activity_horizontal_margin"
   android:paddingTop="@dimen/activity_vertical_margin"
   android:paddingBottom="@dimen/activity_vertical_margin" tools:context=".MainActivity">

   <TextView
      android:layout_width="wrap_content"
      android:layout_height="wrap_content"
      android:text="Alert Dialog"
      android:id="@+id/textView"
      android:textSize="35dp"
      android:layout_alignParentTop="true"
      android:layout_centerHorizontal="true" />

   <TextView
      android:layout_width="wrap_content"
      android:layout_height="wrap_content"
      android:text="Tutorialspoint"
      android:id="@+id/textView2"
      android:textColor="#ff3eff0f"
      android:textSize="35dp"
      android:layout_below="@+id/textView"
      android:layout_centerHorizontal="true" />

   <ImageView
      android:layout_width="wrap_content"
      android:layout_height="wrap_content"
      android:id="@+id/imageView"
      android:src="@drawable/abc"
      android:layout_below="@+id/textView2"
      android:layout_alignRight="@+id/textView2"
      android:layout_alignEnd="@+id/textView2"
      android:layout_alignLeft="@+id/textView"
      android:layout_alignStart="@+id/textView"/>

   <Button
      android:layout_width="wrap_content"
      android:layout_height="wrap_content"
      android:text="zoom"
      android:id="@+id/button"
      android:layout_below="@+id/imageView"
      android:layout_alignParentLeft="true"
      android:layout_alignParentStart="true"
      android:layout_marginTop="40dp"
      android:onClick="clockwise"/>

   <Button
      android:layout_width="wrap_content"
      android:layout_height="wrap_content"
      android:text="clockwise"
      android:id="@+id/button2"
      android:layout_alignTop="@+id/button"
      android:layout_centerHorizontal="true"
      android:onClick="zoom"/>

   <Button
      android:layout_width="wrap_content"
      android:layout_height="wrap_content"
      android:text="fade"
      android:id="@+id/button3"
      android:layout_alignTop="@+id/button2"
      android:layout_alignParentRight="true"
      android:layout_alignParentEnd="true"
      android:onClick="fade"/>

   <Button
      android:layout_width="wrap_content"
      android:layout_height="wrap_content"
      android:text="blink"
      android:onClick="blink"
      android:id="@+id/button4"
      android:layout_below="@+id/button"
      android:layout_alignParentLeft="true"
      android:layout_alignParentStart="true" />

   <Button
      android:layout_width="wrap_content"
      android:layout_height="wrap_content"
      android:text="move"
      android:onClick="move"
      android:id="@+id/button5"
      android:layout_below="@+id/button2"
      android:layout_alignRight="@+id/button2"
      android:layout_alignEnd="@+id/button2"
      android:layout_alignLeft="@+id/button2"
      android:layout_alignStart="@+id/button2" />

   <Button
      android:layout_width="wrap_content"
      android:layout_height="wrap_content"
      android:text="slide"
      android:onClick="slide"
      android:id="@+id/button6"
      android:layout_below="@+id/button3"
      android:layout_toRightOf="@+id/textView"
      android:layout_toEndOf="@+id/textView" />

</RelativeLayout>
这是res/anim/myanimation.xml的代码。
<?xml version="1.0" encoding="utf-8"?>
<set xmlns:android="http://schemas.android.com/apk/res/android">

   <scale xmlns:android="http://schemas.android.com/apk/res/android"
      android:fromXScale="0.5"
      android:toXScale="3.0"
      android:fromYScale="0.5"
      android:toYScale="3.0"
      android:duration="5000"
      android:pivotX="50%"
      android:pivotY="50%" >
   </scale>

   <scale xmlns:android="http://schemas.android.com/apk/res/android"
      android:startOffset="5000"
      android:fromXScale="3.0"
      android:toXScale="0.5"
      android:fromYScale="3.0"
      android:toYScale="0.5"
      android:duration="5000"
      android:pivotX="50%"
      android:pivotY="50%" >
   </scale>

</set>
这是res/anim/clock.xml的代码。
<?xml version="1.0" encoding="utf-8"?>
<set xmlns:android="http://schemas.android.com/apk/res/android">

   <rotate xmlns:android="http://schemas.android.com/apk/res/android"
      android:fromDegrees="0"
      android:toDegrees="360"
      android:pivotX="50%"
      android:pivotY="50%"
      android:duration="5000" >
   </rotate>

   <rotate xmlns:android="http://schemas.android.com/apk/res/android"
      android:startOffset="5000"
      android:fromDegrees="360"
      android:toDegrees="0"
      android:pivotX="50%"
      android:pivotY="50%"
      android:duration="5000" >
   </rotate>

</set>
这是res/anim/fade.xml的代码。
<?xml version="1.0" encoding="utf-8"?>
<set xmlns:android="http://schemas.android.com/apk/res/android"
   android:interpolator="@android:anim/accelerate_interpolator" >

   <alpha
      android:fromAlpha="0"
      android:toAlpha="1"
      android:duration="2000" >
   </alpha>

   <alpha
      android:startOffset="2000"
      android:fromAlpha="1"
      android:toAlpha="0"
      android:duration="2000" >
   </alpha>

</set>
这是res/anim/blink.xml的代码。
<?xml version="1.0" encoding="utf-8"?>
<set xmlns:android="http://schemas.android.com/apk/res/android">
   <alpha android:fromAlpha="0.0"
      android:toAlpha="1.0"
      android:interpolator="@android:anim/accelerate_interpolator"
      android:duration="600"
      android:repeatMode="reverse"
      android:repeatCount="infinite"/>
</set>
这是res/anim/move.xml的代码。
<?xml version="1.0" encoding="utf-8"?>
<set
   xmlns:android="http://schemas.android.com/apk/res/android"
   android:interpolator="@android:anim/linear_interpolator"
   android:fillAfter="true">

   <translate
      android:fromXDelta="0%p"
      android:toXDelta="75%p"
      android:duration="800" />
</set>
这是res/anim/slide.xml的代码
<?xml version="1.0" encoding="utf-8"?>
<set xmlns:android="http://schemas.android.com/apk/res/android"
   android:fillAfter="true" >

   <scale
      android:duration="500"
      android:fromXScale="1.0"
      android:fromYScale="1.0"
      android:interpolator="@android:anim/linear_interpolator"
      android:toXScale="1.0"
      android:toYScale="0.0" />
</set>
这是res/values/string.xml的修改代码。
<resources>
   <string name="app_name">My Application</string>
</resources>
这是 AndroidManifest.xml 的默认代码。
<?xml version="1.0" encoding="utf-8"?>
<manifest xmlns:android="http://schemas.android.com/apk/res/android"
   package="com.example.sairamkrishna.myapplication" >

   <application
      android:allowBackup="true"
      android:icon="@drawable/ic_launcher"
      android:label="@string/app_name"
      android:theme="@style/AppTheme" >

      <activity
         android:name="com.example.animation.MainActivity"
         android:label="@string/app_name" >

         <intent-filter>
            <action android:name="android.intent.action.MAIN" />
            <category android:name="android.intent.category.LAUNCHER" />
         </intent-filter>

      </activity>

   </application>
</manifest>
让我们尝试运行您的应用程序。 我假设您已将实际的 Android 移动设备与您的计算机连接起来。要从 Android Studio 运行应用程序,请打开项目的活动文件之一,然后单击工具栏中的 Run  图标。Android studio 会显示以下图片
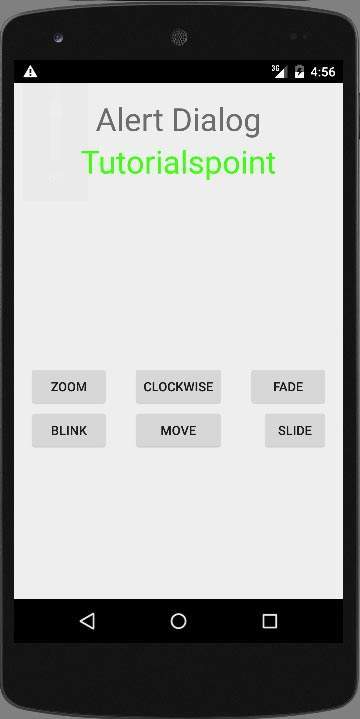
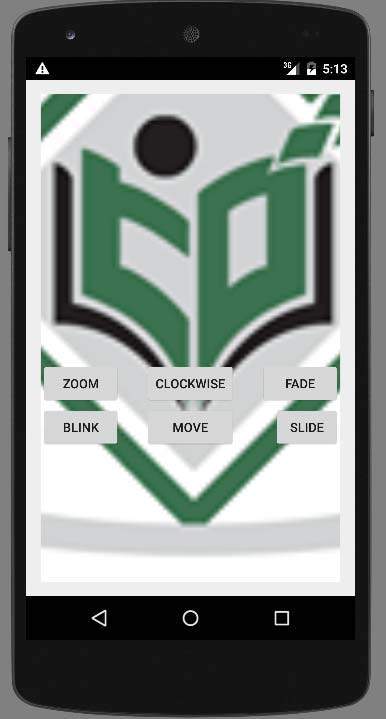
选择缩放按钮,它将显示以下屏幕 −
现在选择滑动按钮,它将显示以下屏幕
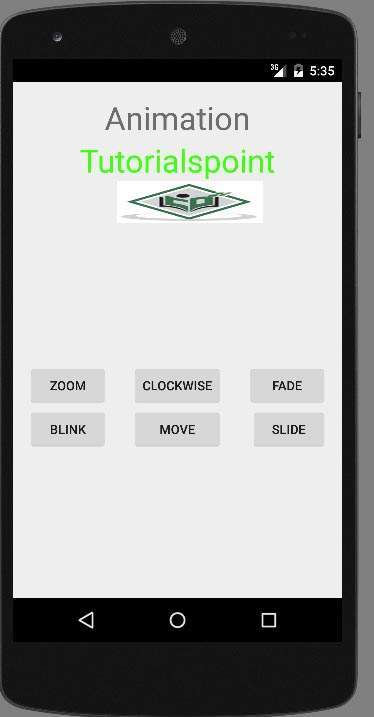
现在选择移动按钮,它将显示以下屏幕
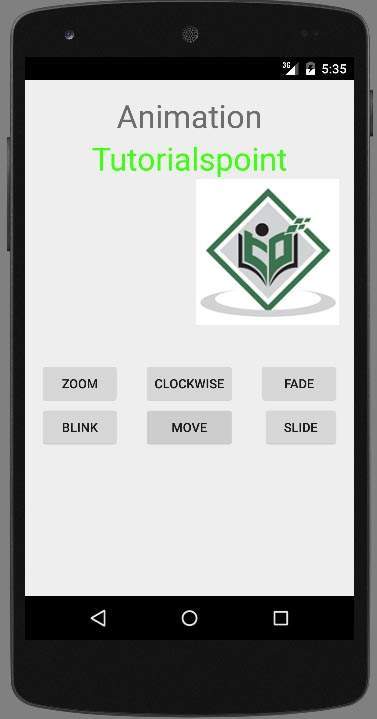
现在顺时针按钮,它将显示以下屏幕
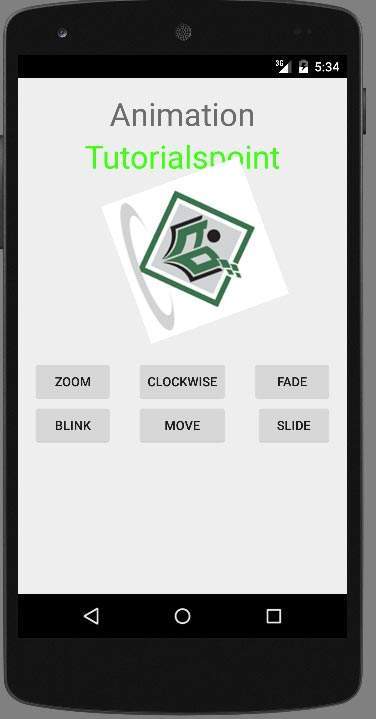
现在淡入淡出按钮,它将显示以下屏幕
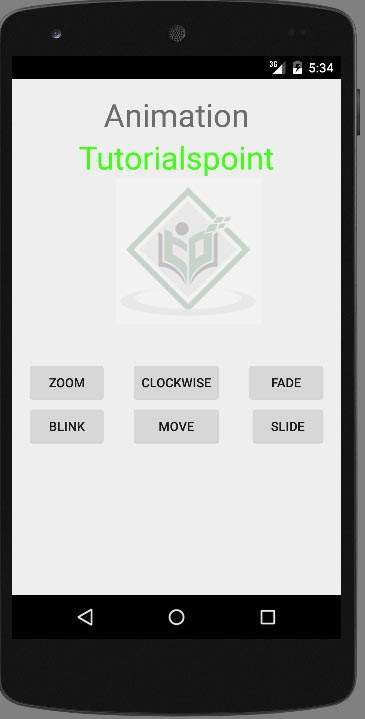
注意 − 如果在模拟器中运行,可能无法体验到流畅的动画效果。 你必须在你的安卓手机上运行它才能体验流畅的动画。

